
How to Install and Configure the Captain Compliance CMP Template in GTM
The Captain Compliance CMP template is the recommended way to deploy the consent banner through Google Tag Manager. One tag created from it loads the banner, sets Google Consent Mode defaults for the visitor’s region before any other tag runs, honors Global Privacy Control, and sends consent updates whenever the visitor’s choice is set or changed. No manual consent calls are needed.
Before you start
Have your property’s access token from the Captain Compliance dashboard. It’s the only required field, and it is the
accessTokenvalue in your domain’s script URL.Work in a dedicated GTM workspace so the change can be reviewed and published as a unit.
If one GTM container serves several domains, you’ll create one tag per domain. Set up the first one here; the multi-domain article covers the rest.
Step 1: Add the template to your container
In GTM, open Templates, then under Tag Templates click Search Gallery.
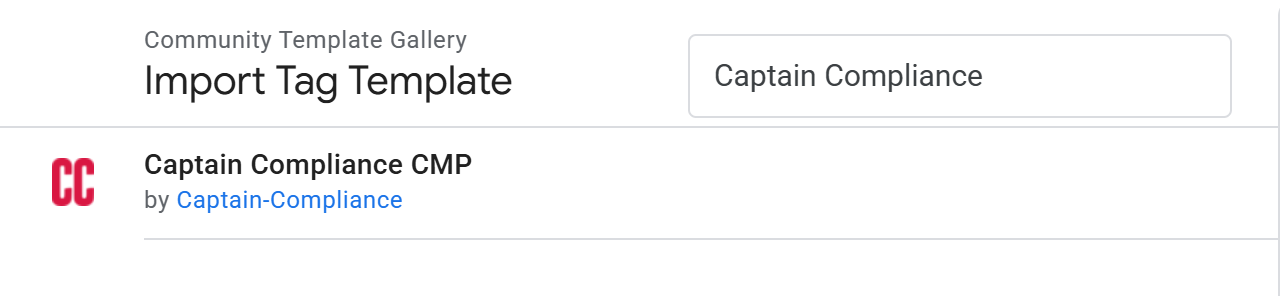
Search for Captain Compliance CMP (by Captain-Compliance) and open it.
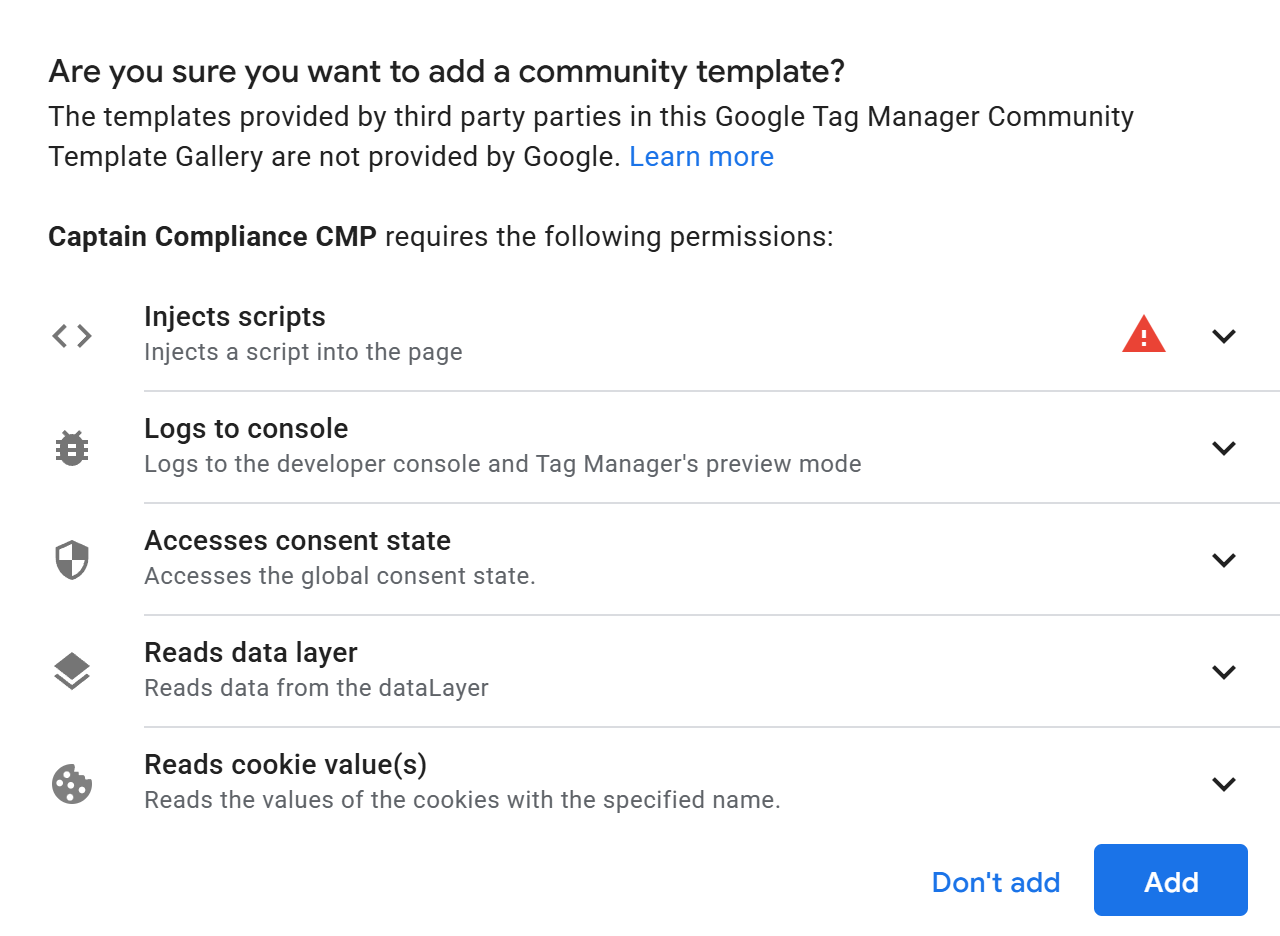
Click Add to workspace and accept the permissions. The template needs to inject the banner script, read the consent cookie and the data layer, set consent state, and write to the console.
If GTM reports “Template name already in use.”, the container has an older imported copy of the template. See Switching from an imported copy of the template, below.
Step 2: Create the GPC detection variable
GTM templates run in a sandbox that can’t read the browser’s Global Privacy Control flag, so the template receives it through a variable. Create it once per container:
Open Variables and click New under User-Defined Variables.
Choose Custom JavaScript and paste:
function() { return navigator.globalPrivacyControl === true; }Name it
CaptainGPCSignalDetectedand save.
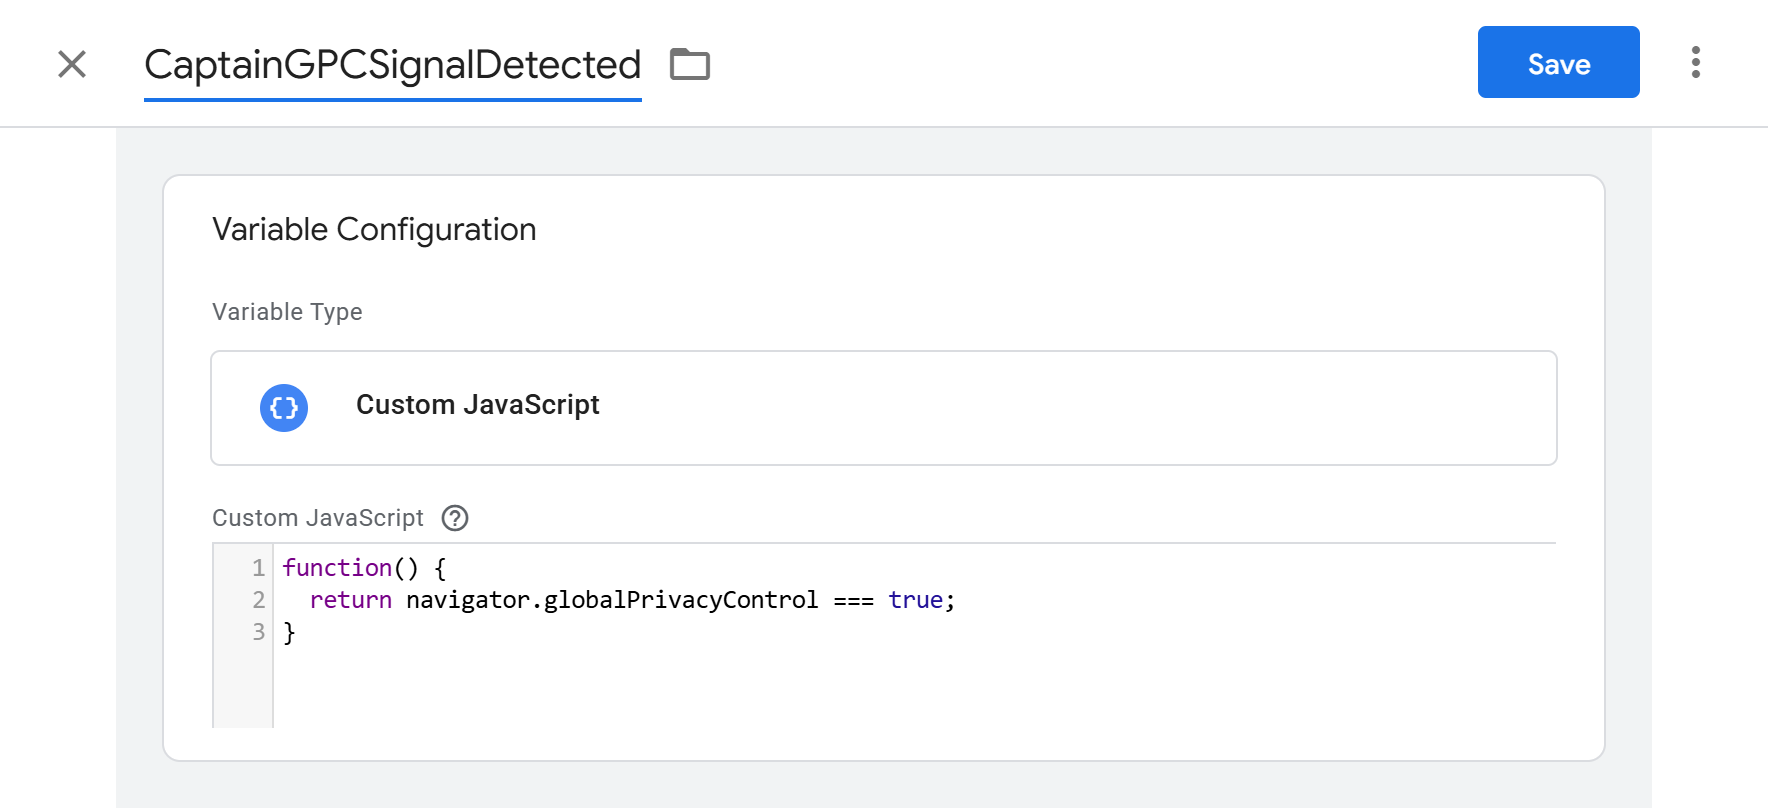
With this variable in place, a visitor whose browser sends GPC gets a denied default from the first event on the page. Without it, GPC is still honored, but only once the banner script has loaded, which is late enough for early-firing tags to slip through.
Step 3: Create the Captain Compliance tag
Open Tags and click New.
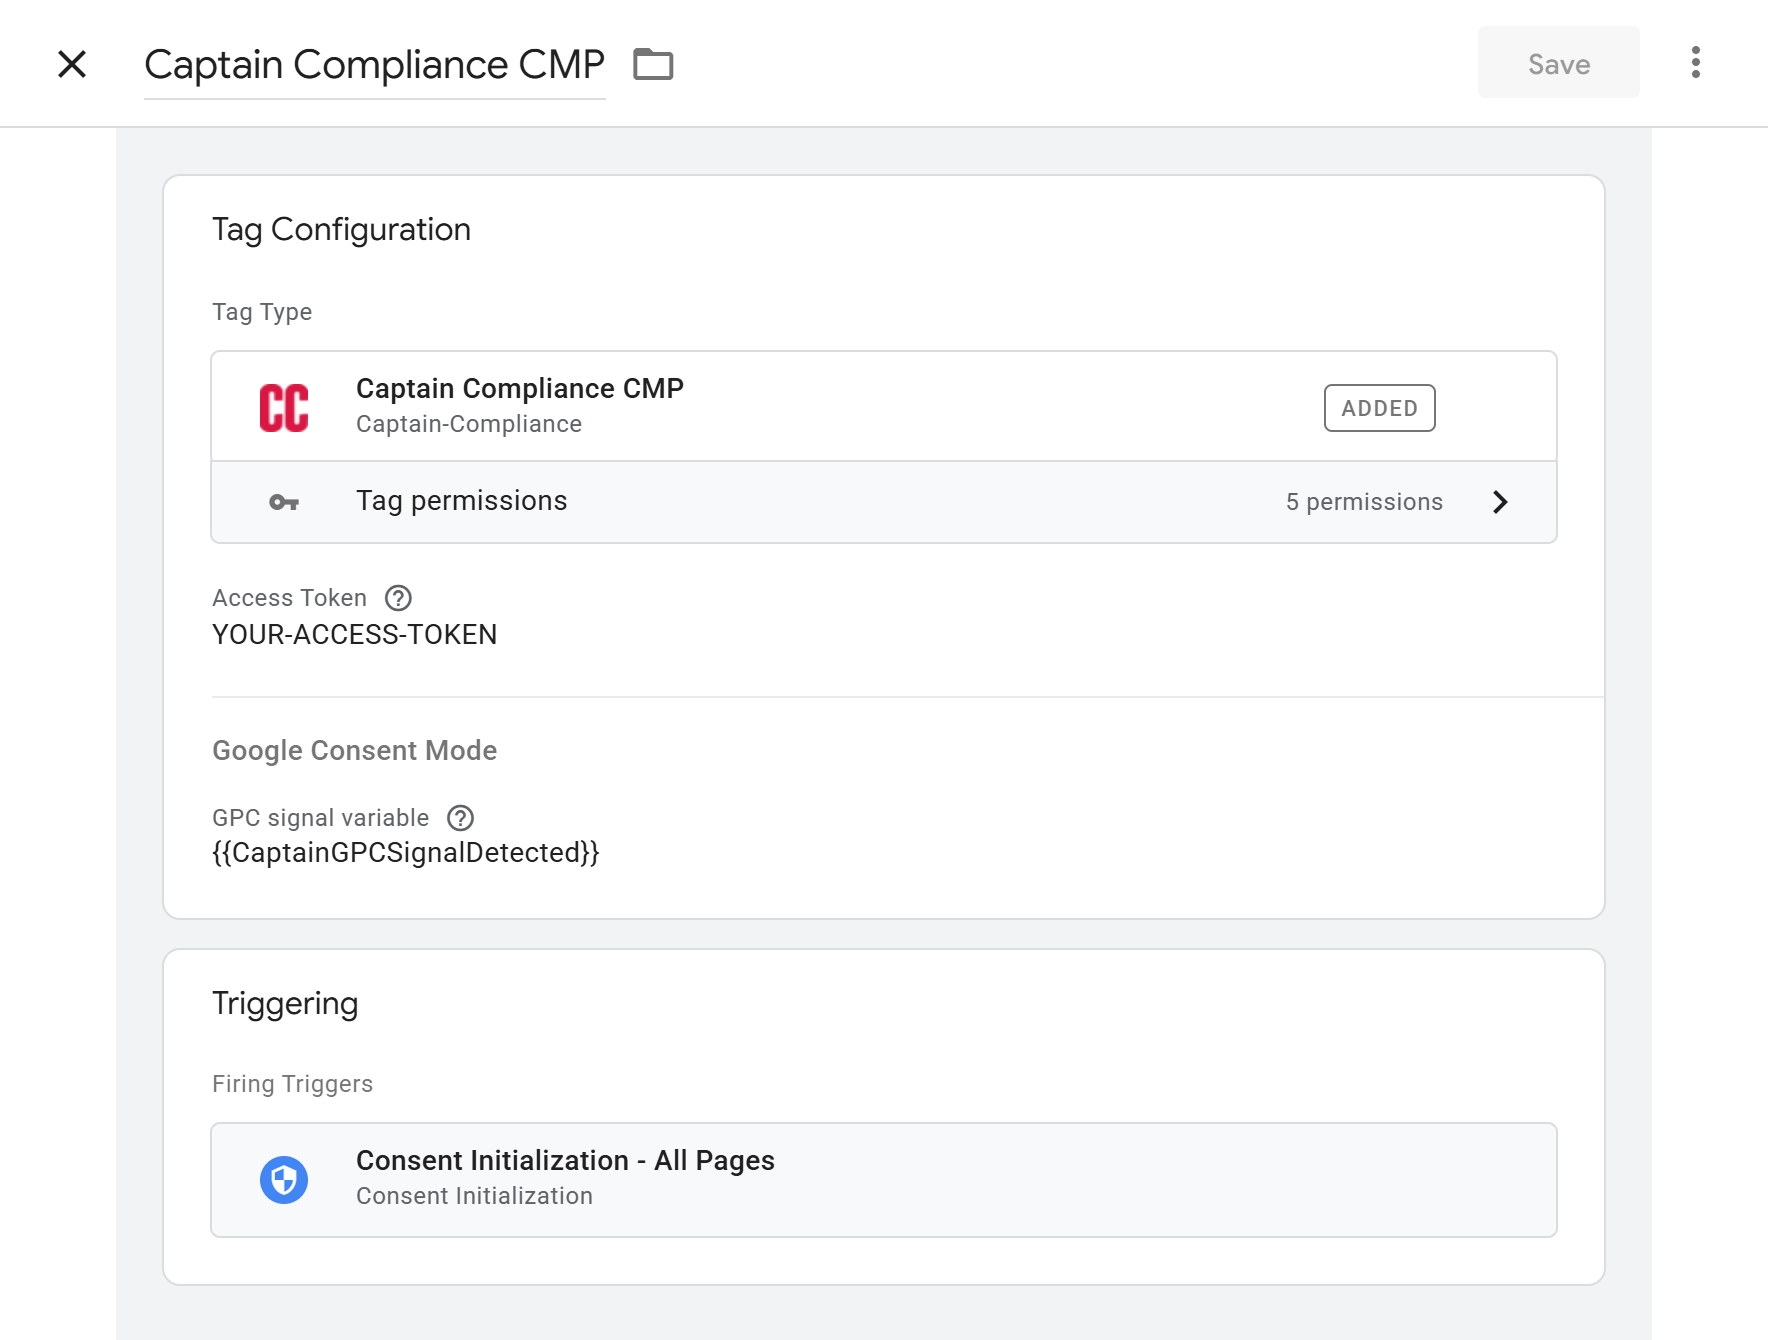
Choose Captain Compliance CMP as the tag type and name the tag, for example Captain Compliance CMP.
Paste your access token into Access Token.
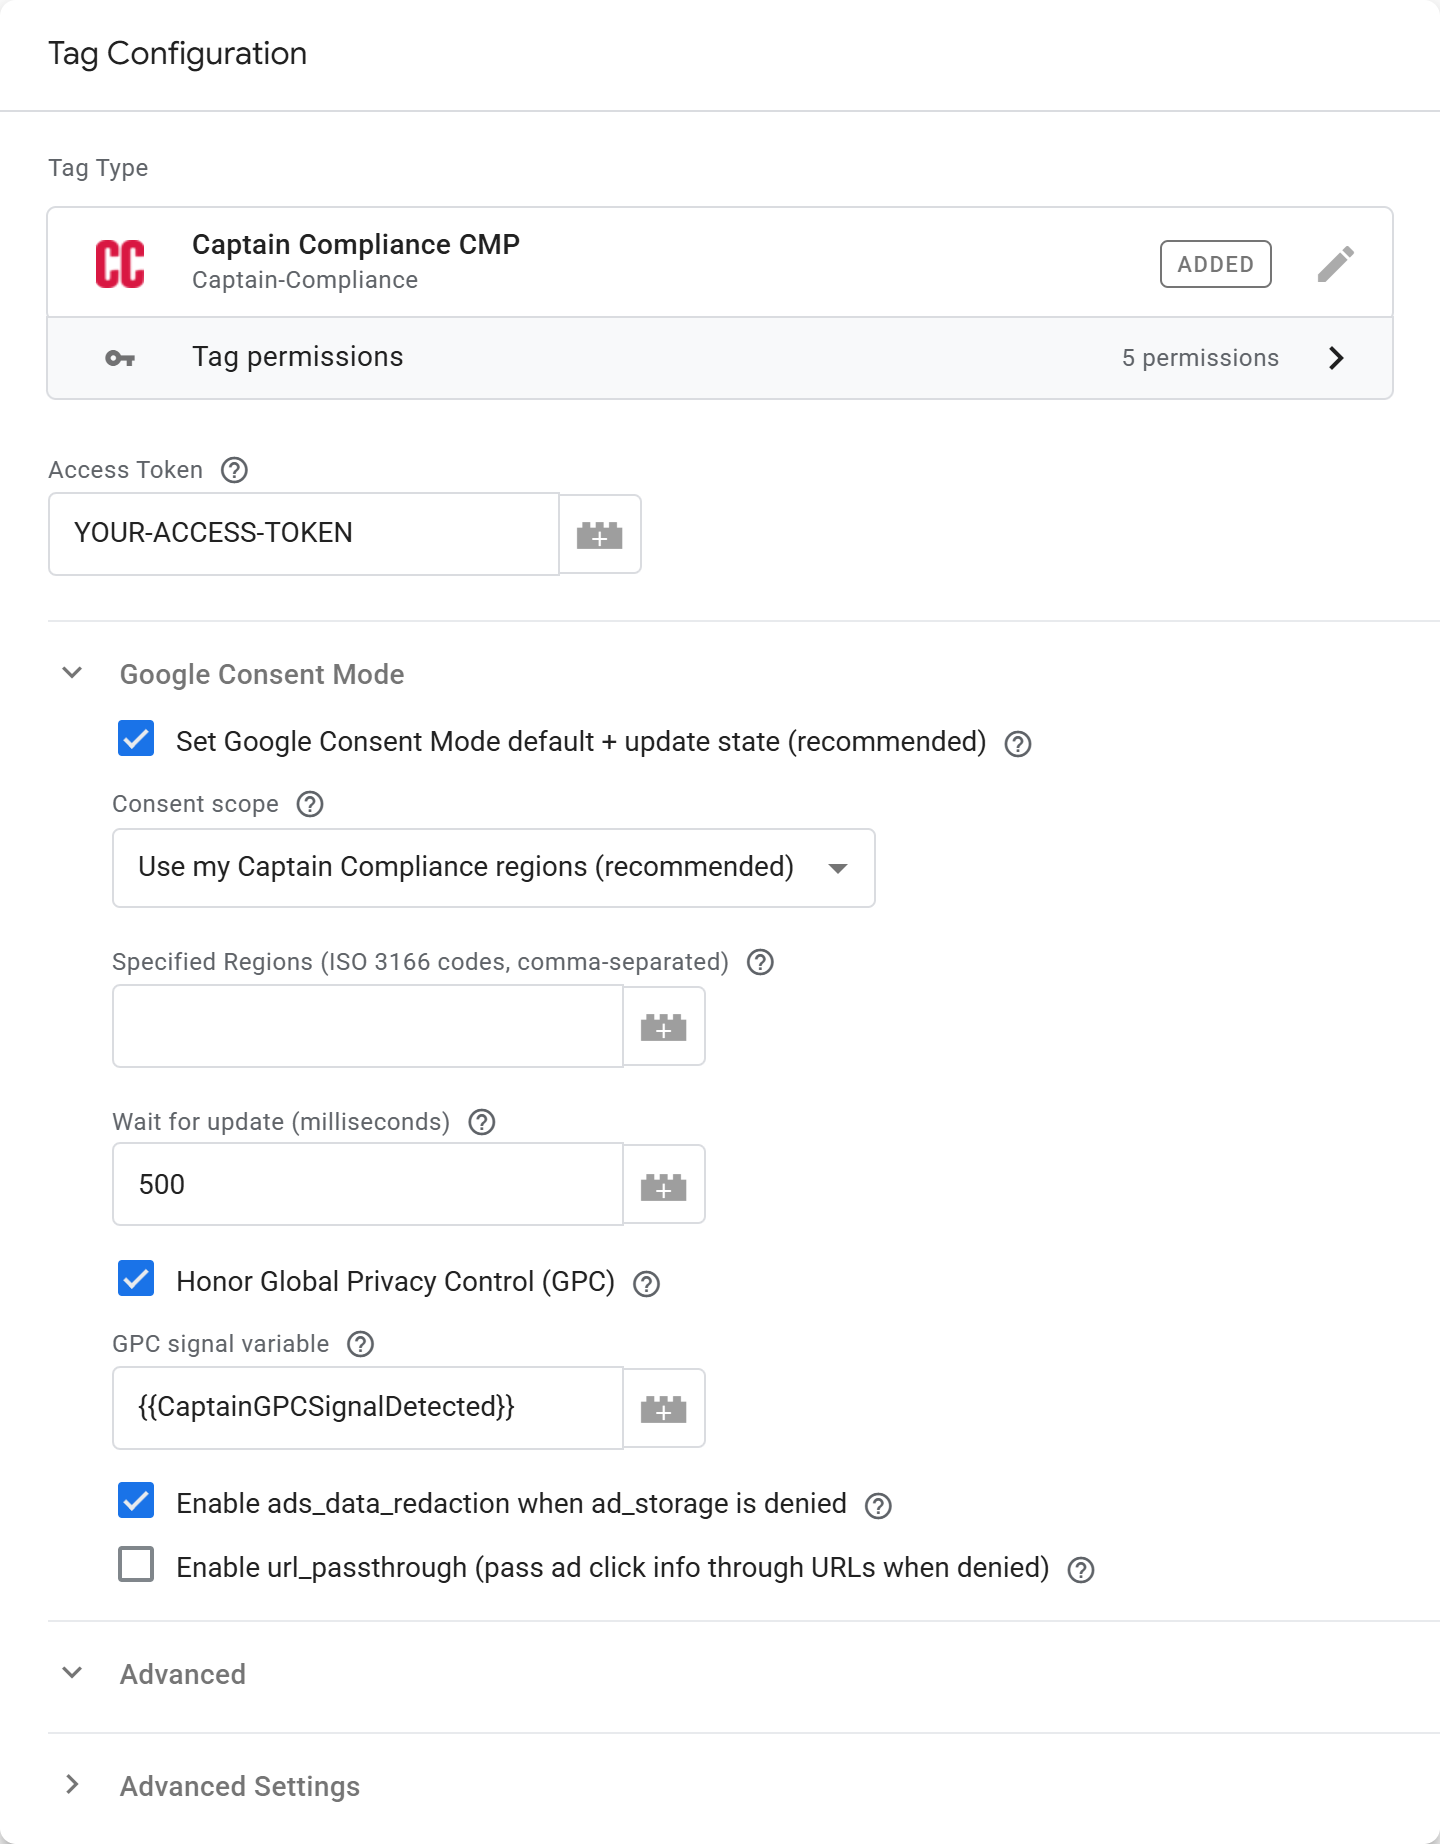
Review the Google Consent Mode settings. The defaults are right for most sites.
Setting | Recommended | What it does |
|---|---|---|
Set Google Consent Mode default + update state | On | Sets the consent default at load and sends an update when the visitor chooses. Required for Consent Mode v2. |
Consent scope | Use my Captain Compliance regions | Where the pre-consent default comes from. See the options below. |
Specified Regions | Empty unless using a “Specified Regions” scope | ISO 3166 codes, comma-separated, such as |
Wait for update (milliseconds) | 500 | How long Google tags hold before firing so the banner can deliver the visitor’s state. Google’s recommended value. |
Honor Global Privacy Control (GPC) | On | Treats GPC as “reject all non-essential” wherever the visitor is. |
GPC signal variable |
| The variable from Step 2. Select it from the variable picker. |
Enable ads_data_redaction when ad_storage is denied | On | Redacts ad click identifiers in Google requests while ad consent is denied. |
Enable url_passthrough | Off | Passes ad click identifiers through URLs when storage is denied. Turn on only if you rely on it for conversion modeling. |
Consent scope options:
Use my Captain Compliance regions (recommended). The visitor’s default comes from the region settings in your Captain Compliance dashboard, resolved with Captain Compliance geolocation, so there’s one region list to maintain. On a visitor’s very first page view the default is denied until the Captain Compliance consent-defaults script responds, which is designed to happen within the wait-for-update window; from the next page view on, the regional default is applied immediately from a small cookie (
cc_region_defaults).Opt-In (Specified Regions Only). Non-essential storage is denied in the regions you list and granted everywhere else.
Opt-Out (Specified Regions Only). Granted in the regions you list, denied everywhere else. Use this to run opt-in globally except in a few opt-out regions.
Opt-In (Everywhere). Denied everywhere until the visitor consents.
Opt-Out (Everywhere). Granted everywhere until the visitor opts out.
The specified-region scopes use Google’s region matching rather than Captain Compliance’s, so keep the list in sync with your banner’s region settings. The banner should default its toggles to off wherever GTM defaults to denied.
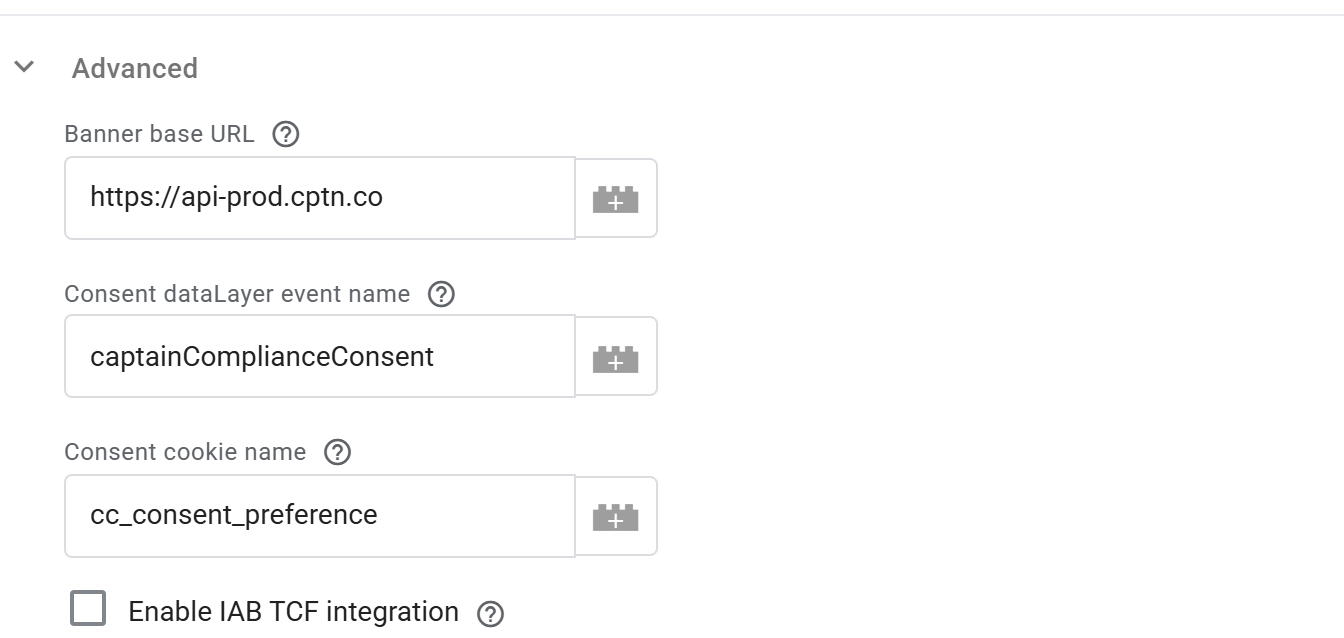
Leave the Advanced section alone unless you have a reason to change it. It holds the banner base URL (change only for staging or self-hosted deployments), the data layer event name (
captainComplianceConsent), the consent cookie name (cc_consent_preference), and IAB TCF support, which is off because Captain Compliance runs Google Consent Mode rather than TCF.
Step 4: Set the trigger
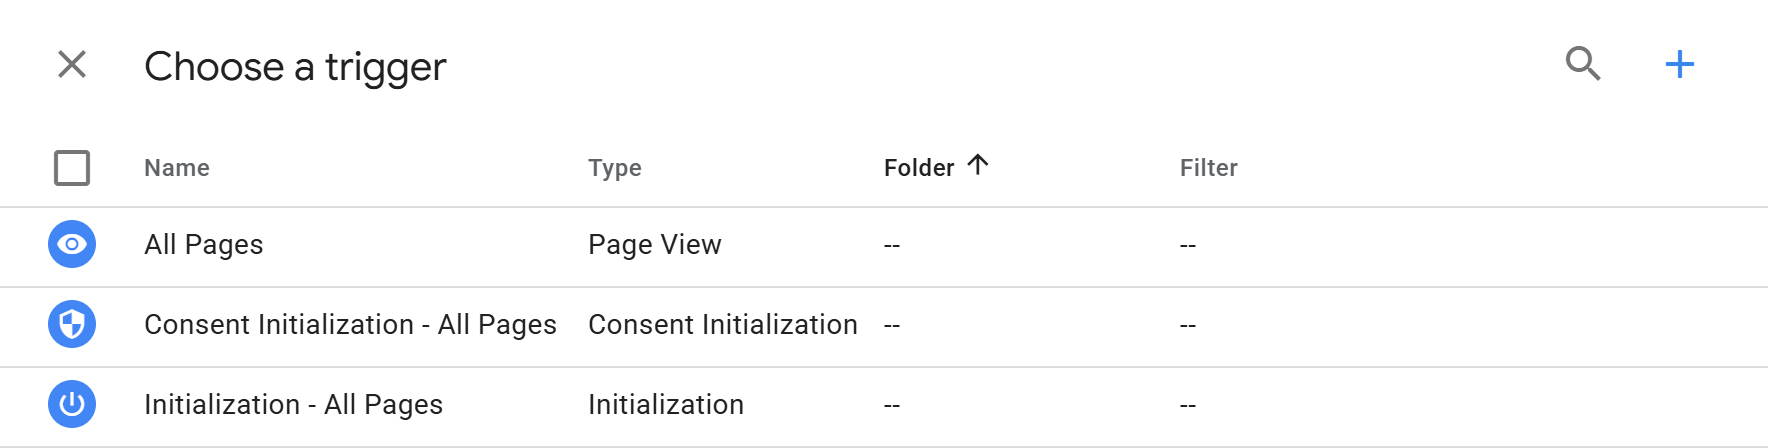
Under Triggering, select Consent Initialization - All Pages. This built-in trigger fires before every other trigger in the container, which is what lets the tag set defaults ahead of your other tags.
Two rules for this tag:
Use only Consent Initialization triggers on it, for firing and for exceptions. Don’t add an exception of another trigger type; GTM may accept it in the editor, but the tag is then invalid for import and the CMP can fire out of order.
Don’t put any other tag on a Consent Initialization trigger. Google tags in particular belong on Initialization or later, where their built-in consent checks can see the defaults this tag sets.
Save the tag.
Step 5: Verify in Preview
Open Preview and load your site. In Tag Assistant, Consent Initialization should be the first event, with the Captain Compliance tag fired on it and the banner visible on the page.
Open the Consent tab for that event. It should show the default state for the visitor’s region (Consent Default), and, if the visitor has a stored choice or GPC, a Consent Update immediately after.
Make a choice in the banner. A Consent Update appears with the new state, and a
captainComplianceConsentevent is pushed to the data layer.Reload. The stored choice is applied at Consent Initialization, before Initialization.
Test GPC: turn it on in your browser or with an extension, and load the page. All non-essential categories should be denied from the first event.
The testing article covers the full set of scenarios to run before publishing.
What the tag does on each page
At Consent Initialization it sets the Google Consent Mode default: denied if GPC is detected, otherwise according to the consent scope.
It applies any stored preference from the consent cookie as an update, and keeps listening for changes.
It loads the banner. The banner pushes
captainComplianceConsentto the data layer with the visitor’s state, andcaptainComplianceConsentReadyonce it has resolved the visitor’s effective state for this page (regional default, stored preference and GPC). The second event is what the CC - Consent Ready trigger listens for.
Switching from an imported copy of the template
Containers set up before the template was listed in the Community Template Gallery use a copy imported from a file. The gallery version is the one to keep: GTM shows a notice on it when Captain Compliance publishes an update, which an imported copy never gets. To switch:
Open Templates and click the old template under Tag Templates. Rename it, for example to Captain Compliance CMP (legacy), and save. GTM won’t add a gallery template while another template has the same name.
Add the gallery template as in Step 1, and create the GPC detection variable from Step 2 if the container doesn’t have it.
Open your existing Captain Compliance tag, click the pencil icon next to the tag type, and choose the gallery template. It’s the one labeled Added.
Enter the access token again and set the options as in Step 3. Changing the tag type clears the fields.
Set the trigger to Consent Initialization - All Pages if the tag uses a different one, and save.
Verify in Preview before you publish. Once the published container is working, delete the old template.
Next steps
Assign a consent setting to every tag in the container, then move early-firing tags onto CC - Consent Ready.