
How to Install the Captain Compliance Consent Banner on Wix
This article explains how to add the Captain Compliance consent banner to a Wix site by adding the script as custom code. No app is required.
Before you start
Add the site’s domain in Captain Compliance and set up its consent banner. See How to Set Up Captain Compliance: A Step-by-Step Checklist.
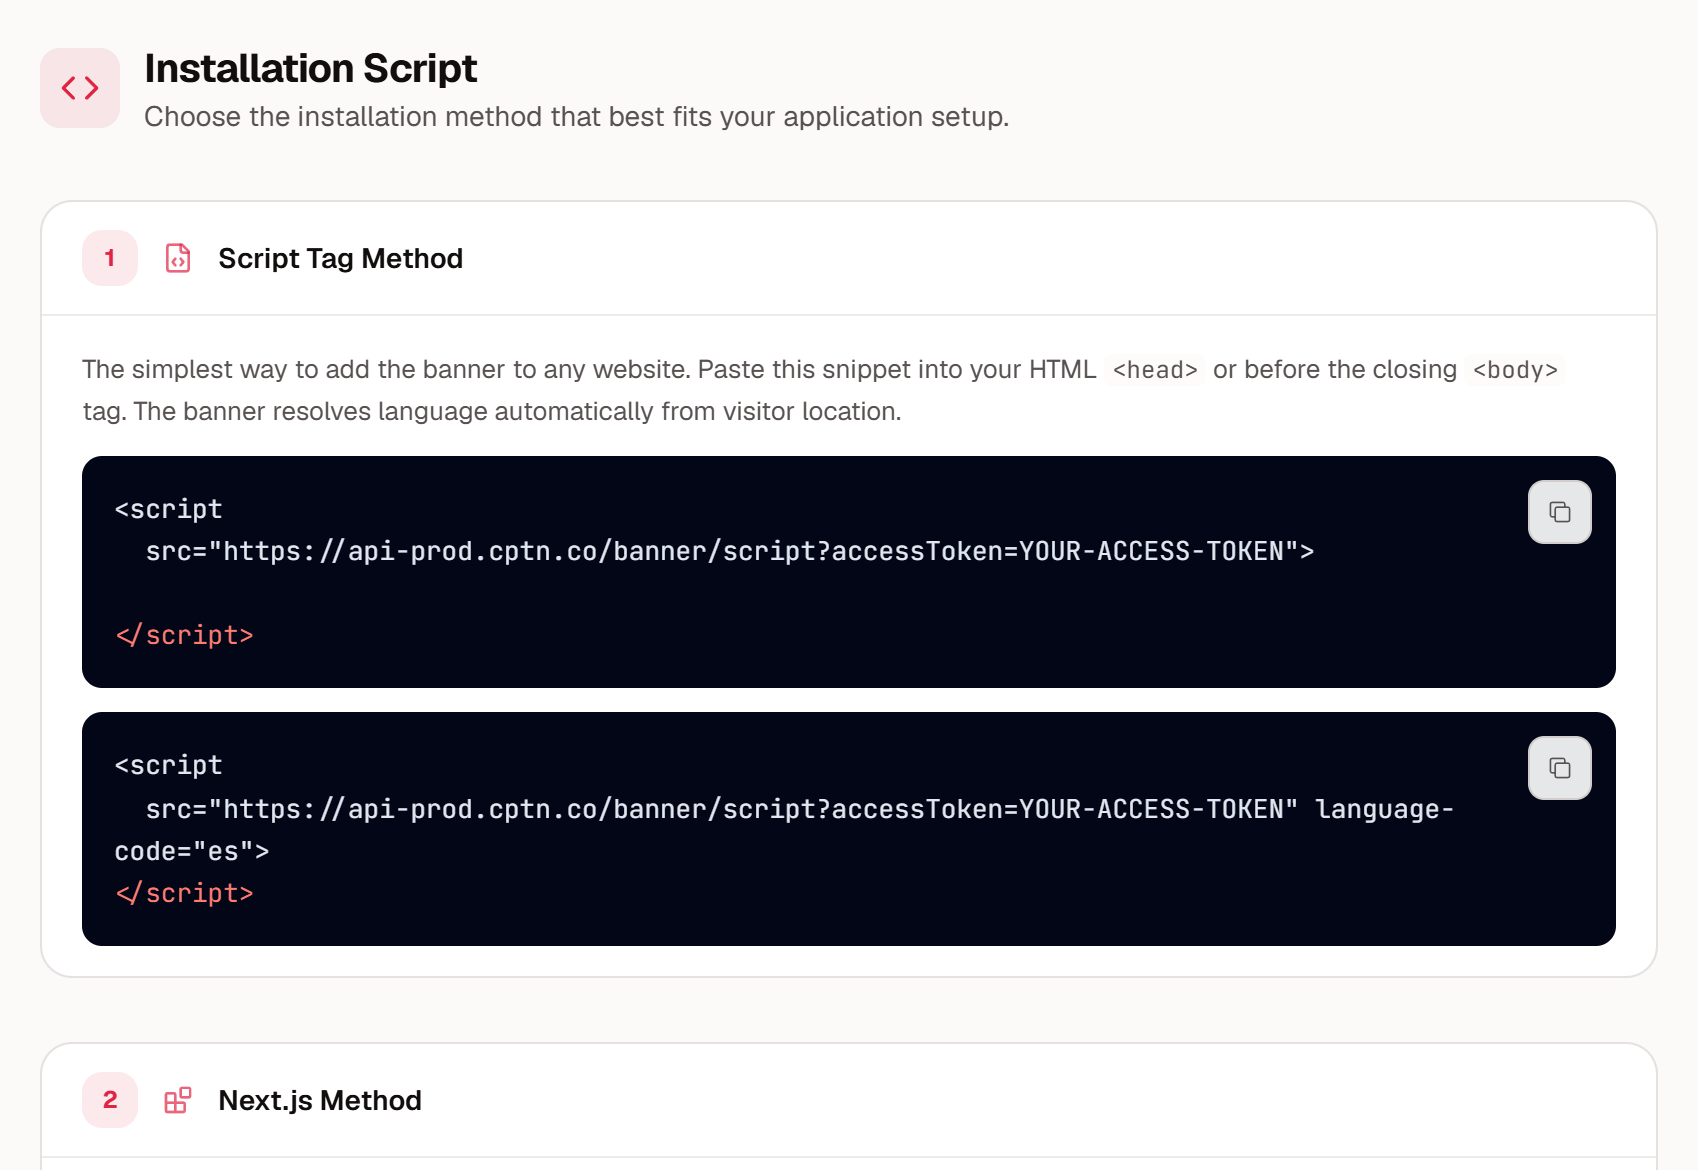
Copy the script for that domain. In the Captain Compliance app, select Consent banner in the sidebar, select the domain, and under Setup select Installation script. Copy the snippet under Script Tag Method.
Check that the site is published and has a connected domain. Wix allows custom code only on such sites, which means a paid plan.
Turn off Wix’s own cookie banner. In the site’s dashboard, go to Settings → Privacy & Cookies, and switch the cookie banner off. Captain Compliance should be the only consent banner on the site.
The script runs only on the domain it was issued for, with or without www. On a subdomain, the banner appears only if that subdomain has been added in Captain Compliance. On any other address, the banner does not appear. For example, the banner does not appear on a free Wix address if you added your own domain in Captain Compliance. To add a domain or subdomain, see How to Scan Websites and Manage Domains.
The Installation script section in the Captain Compliance app:
Add the script as custom code
In the site’s dashboard, go to Settings, and open Custom Code.
Select + Add Custom Code.
Paste the script into the code box, and give it a name, such as Captain Compliance.
Under Add Code to Pages, select All pages, and choose to load the code once.
Under Place Code in, select Head.
On the Code Type tab, keep Essential, so that Wix’s own cookie settings do not hold the script back.
Select Apply.
<script src="https://api-prod.cptn.co/banner/script?accessToken=YOUR-ACCESS-TOKEN"></script>Wix notes
Keep Wix’s own cookie banner off. Two banners confuse visitors and can record different choices.
Tools that you connect through Wix’s Marketing Integrations follow Wix’s own consent settings. The Captain Compliance script does not write to Wix’s consent system. After you install the banner, check which cookies and requests appear before and after a choice, and ask your Captain Compliance representative how to handle tools that load through Wix.
Wix moves between pages without a full page load. Loading the code once keeps a single banner for the visit.
Wix applies its own security checks to custom code and can block a snippet. If the banner does not appear after you select Apply, look for blocked requests to
cptn.coin the browser console, and contact your Captain Compliance representative.Wix connects Google Tag Manager through its Marketing Integrations, not through custom code. This article covers the custom code method for the banner.
Confirm the banner is live
Open the published site in a private or incognito browser window.
Confirm that the banner appears, and try Allow, Reject, and Cookie Settings.
In the browser’s developer tools, open the Network tab, reload the page, and confirm that the request to
api-prod.cptn.cosucceeds.
If the banner does not appear, see How to Troubleshoot a Consent Banner That Does Not Appear or Respond. For a full test plan, see How to Test Consent Banner Configuration & Behavior.
For Wix’s own instructions, see Embedding custom code on your site in the Wix Help Center.