
How to Set Up Captain Compliance: A Step-by-Step Checklist
This checklist walks through a typical Captain Compliance rollout, from creating your account to maintaining your configuration. Each step links to the article with the details.
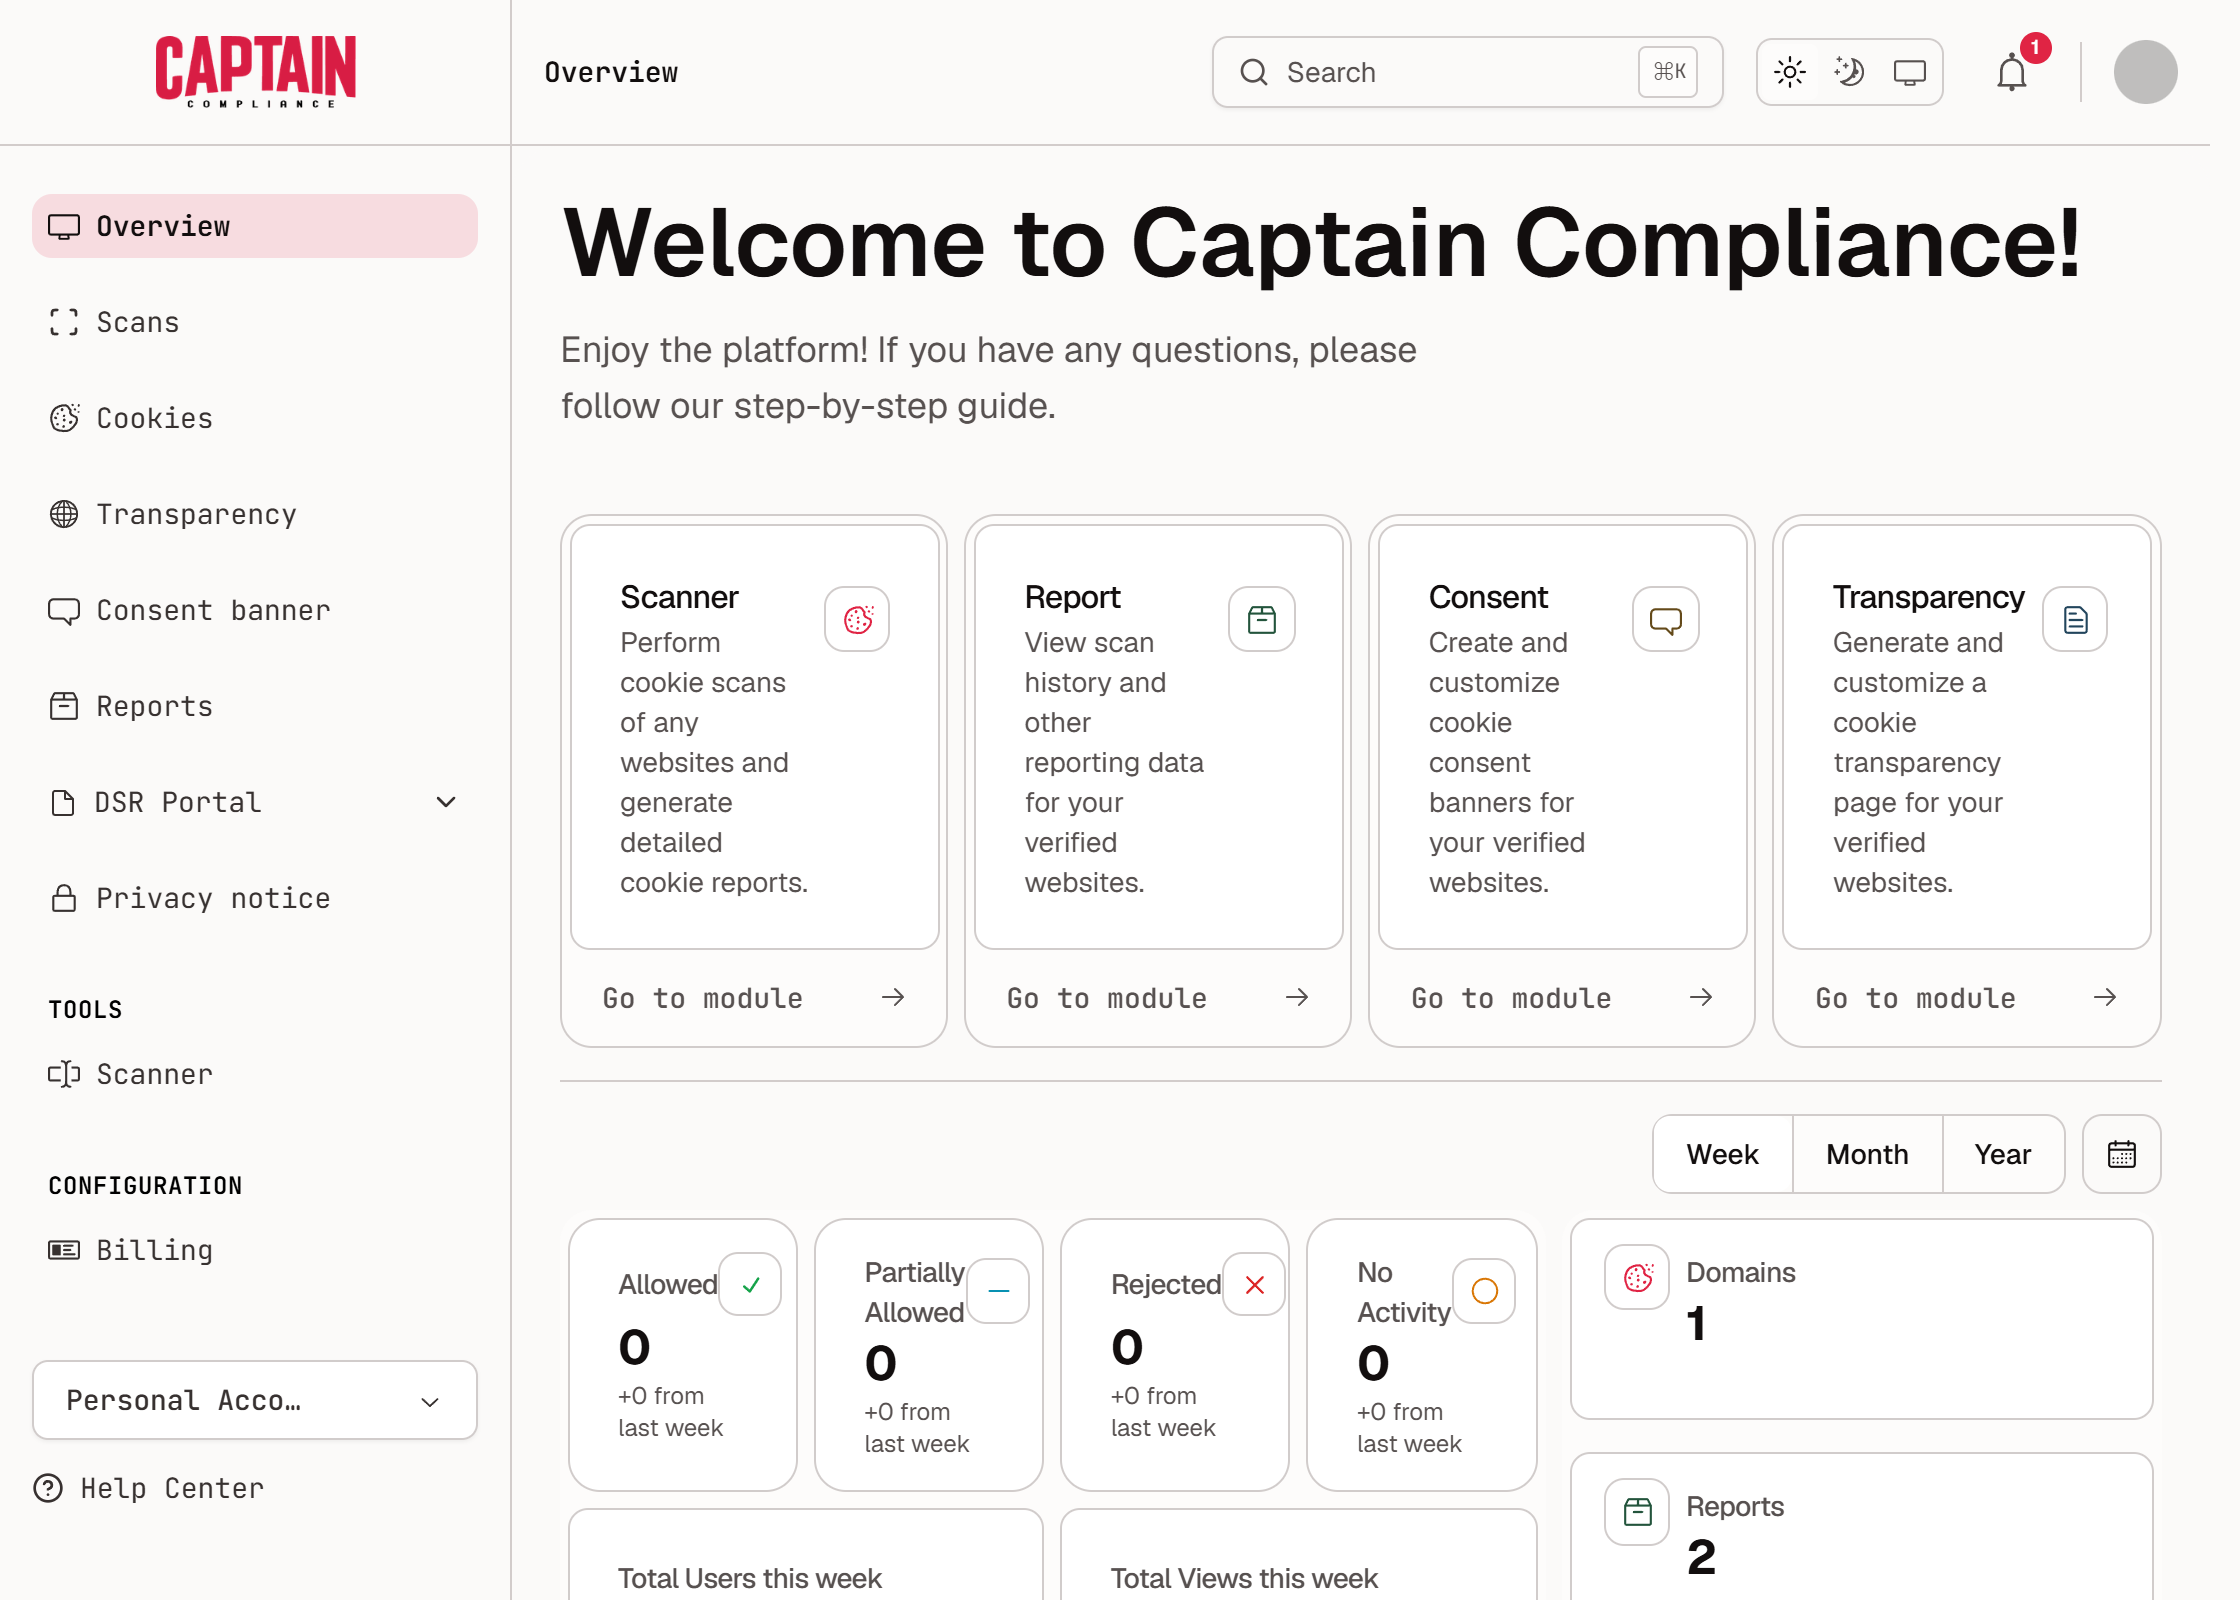
Step 1: Create your account
Register for the platform and sign in to your dashboard. See How to Register for the Captain Compliance Platform. To add a payment method, see How to Manage Billing and Payment Methods. To give colleagues access, see How to Manage Organization Members, Roles, and Notifications.
Step 2: Scan your website
Add your domain and run a scan to find the cookies and trackers on your site. Review the results and make sure nothing is left unclassified. See How to Scan Websites and Manage Domains and How to Review and Classify Cookies After a Scan. Then publish your cookie list: see How to Publish a Cookie Transparency Page.
Step 3: Choose your consent models
Decide where to use an opt-in model and where to use an opt-out model, working with your legal and compliance teams. See How to Choose Between Opt-In and Opt-Out Consent Models and How to Identify Regions Requiring Opt-In Consent Models. Then create a banner configuration for each region: see How to Create Regional Consent Banner Configurations.
To serve one model to every visitor, see How to Disable Geolocation for Your Consent Banner. To set how long a choice lasts, see How to Change How Long a Visitor’s Consent Choice Lasts.
Step 4: Publish the consent banner
Design the banner in the editor, and then install it through Google Tag Manager (recommended) or directly on your site.
For steps on a specific platform, see the installation guides for WordPress, Shopify, Webflow, Wix, Squarespace, HubSpot, and Next.js, React, and other single-page apps.
To go beyond the editor’s design options, see How to Customize Your Consent Banner with Custom HTML and CSS. To carry one choice across your subdomains, see How to Share Consent Across Subdomains with Cross-Domain Consent.
How to Integrate Google Tag Manager (GTM) with Captain Compliance
How to Install and Configure the Captain Compliance CMP Template in GTM
On Shopify: How to Integrate Captain Compliance with Shopify
Then give visitors a persistent way to reopen their choices: How to Add a “Cookie Preferences” Option to Your Website Footer.
Step 5: Enforce consent on your tags and scripts
The banner records consent. Your tags and scripts must also be set up to respect it.
Tags in GTM: How to Gate GTM Tags with Native Consent Settings and How to Fire Early-Loading Tags After Consent with CC - Consent Ready
Scripts outside GTM: How to Gate Non-Essential Scripts and Beacons Using Explicit Consent Logic
Scripts held before they run: How to Block Scripts Before Consent with Auto Blocking and Strict Mode
Fonts, forms, videos, and other embedded content: How to Manage Consent for Fonts, Embedded Forms, Videos, and Other Third-Party Content
Google Consent Mode, basic or advanced: How to Choose Between Basic and Advanced Google Consent Mode
Tools that write to browser storage: How to Clear Local & Session Storage on Tracking Opt-Out (Beyond Cookies)
Step 6: Test before you go live
Test from opt-in and opt-out regions, with and without a stored choice, and with Global Privacy Control (GPC) turned on.
Step 7: Publish your privacy notice
Generate a privacy notice, customize it, have it reviewed, and then link to it or embed it. See How to Generate and Customize a Privacy Notice and How to Embed Your Privacy Notice Using an iFrame. For regional notices and translations, see How to Create Regional Privacy Notices and Translations.
Step 8: Set up your DSR portal
Create a portal to receive data subject requests (DSRs), confirm that notifications reach the right inbox, and consider automating fulfillment. See How to Generate and Customize a Data Subject Request (DSR) Portal and How to Automate Fulfillment of Data Subject Request (DSR) Portal Requests. To publish the portal, see How to Publish Your DSR Portal with a Link or an Embed Script. To handle requests as they arrive, see How to Process and Route Data Subject Requests.
Step 9: Maintain your configuration
Compliance is not a one-time setup. Re-scan after site changes, review new cookies and scripts, and re-test consent behavior periodically. For an outside audit of the live site, run a Patrol scan: see How to Run a Website Scan in Patrol. To watch how visitors respond to the banner, see How to Review Consent Statistics and Cookie Reports. If you rely on ComplianceShield, these are eligibility requirements: see How to Ensure Eligibility for Captain Compliance ComplianceShield.
If something does not work
See How to Troubleshoot a Consent Banner That Does Not Appear or Respond. For the names developers need (events, cookies, and identifiers), see Developer Reference: Captain Compliance Events, Cookies, and Identifiers. For definitions of the terms used here, see Glossary of Consent and Privacy Terms.