
How to Customize Your Consent Banner in the Banner Editor
Each domain in Captain Compliance has one or more consent banner configurations. You design a configuration in the consent banner editor, which the app also calls the Playground. This article walks through the editor: layout, text, colors, behavior, languages, custom code, and publishing.
To create configurations for different regions, see How to Create Regional Consent Banner Configurations. To change the category toggles that visitors see, see How to Use Bucket Mode to Customize Consent Categories and GPC Behavior.
Open the editor
Select Consent banner in the sidebar.
Select your domain.
Under Banners, find the configuration and open its menu (the three dots).

Select Open Playground.
The same menu lets you rename the configuration (Edit Configuration), duplicate it (Copy Configuration), or delete it (Remove Configuration).
How the editor is organized
The top bar shows the configuration’s name and status, the Versions history, three editing modes (Standard, Languages, and Dev), and the Save and Publish buttons.
In Standard mode, the editor is divided into four scenes. Each scene previews one thing a visitor can see.
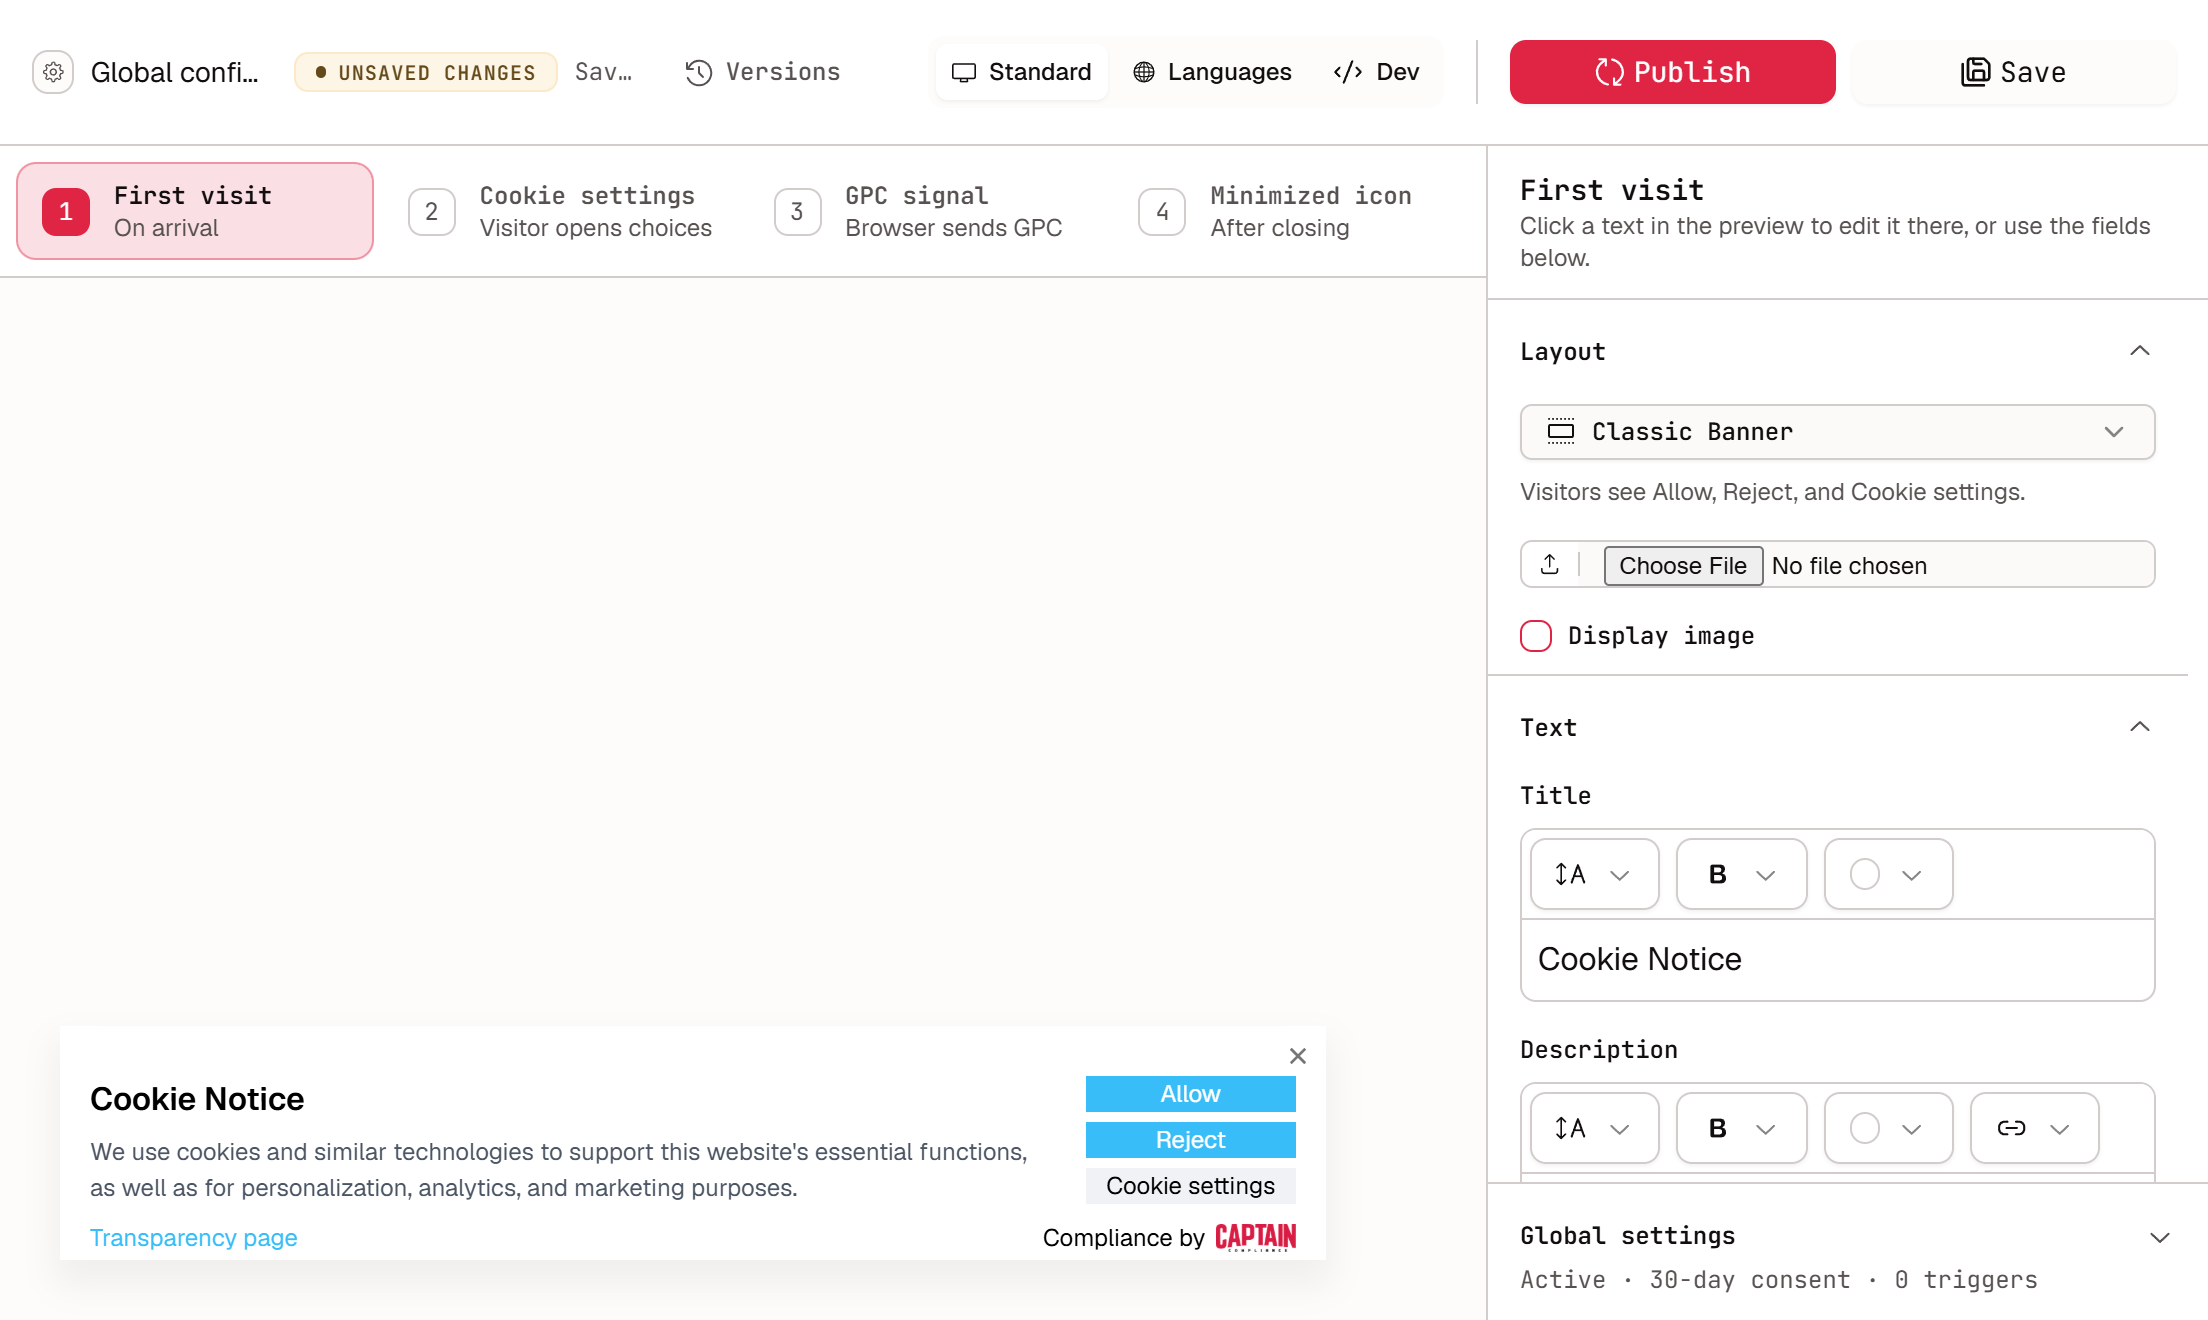
Scene | When visitors see it | What you edit |
|---|---|---|
First visit | On arrival | Layout, text, buttons, colors, footer, and position |
Cookie settings | When they open their choices | Text, buttons, category toggles, and close behavior |
GPC signal | When their browser sends a Global Privacy Control (GPC) signal | The notice text, its buttons, and its position |
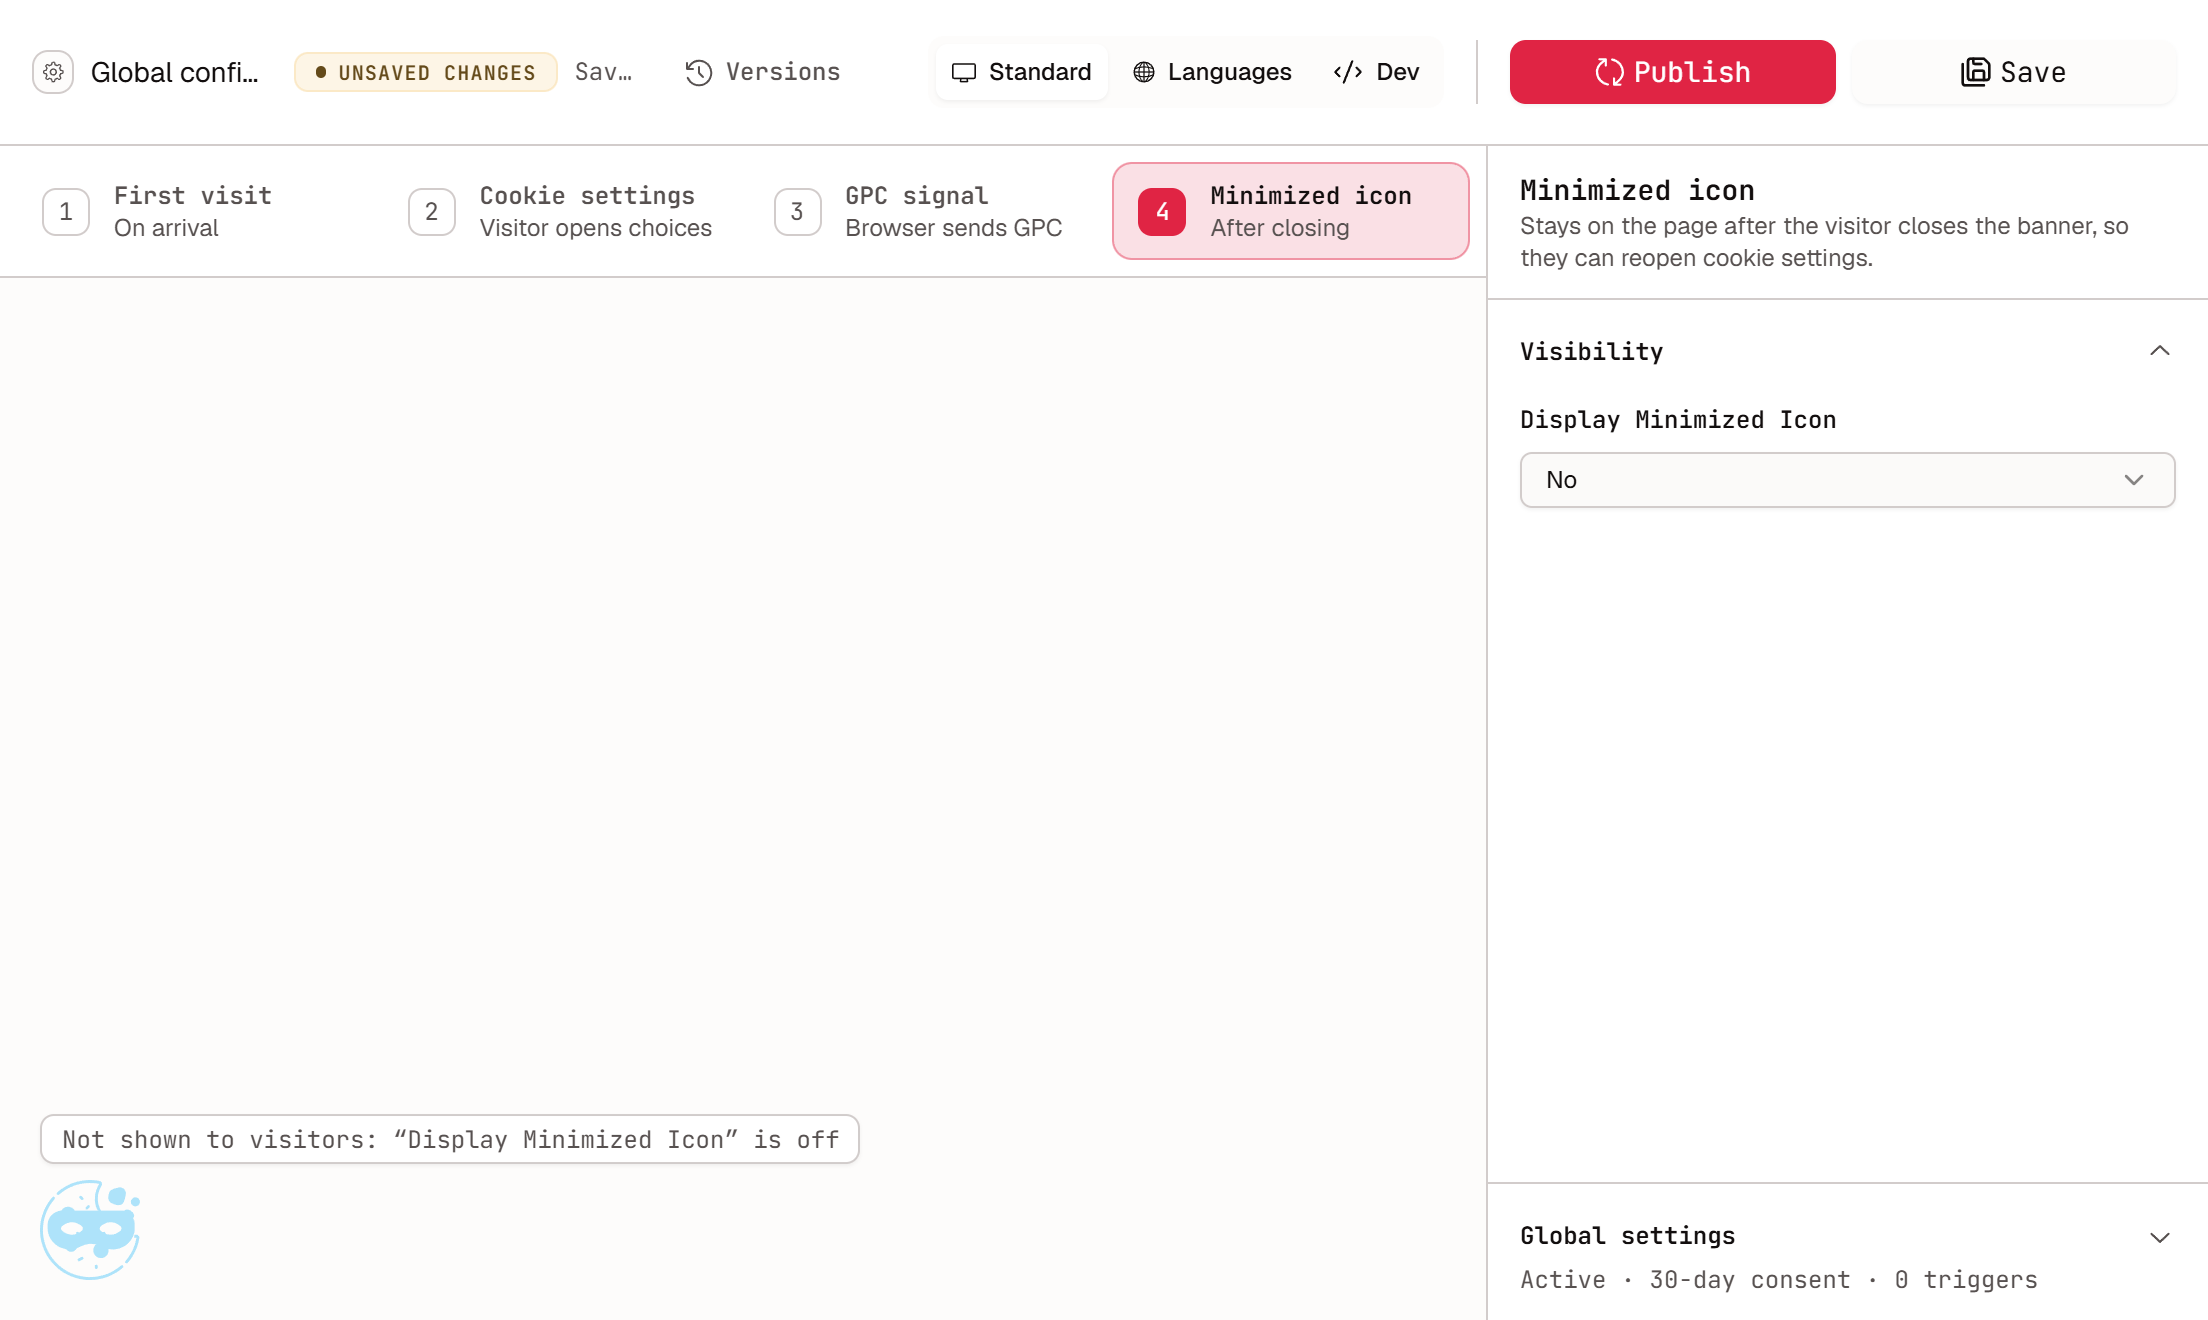
Minimized icon | After they close the banner | Whether the icon is displayed |
Choose a layout
In the First visit scene, Layout sets the overall form of the banner:
Classic Banner
Compact Banner
Modal with Options
Modal (Accept Only)
Modal (Settings Only)
Settings Icon
The editor describes what visitors see for the layout you select. With Classic Banner, for example, visitors see Allow, Reject, and Cookie settings. Layouts differ in the buttons they offer, so confirm with your legal team that the layout fits the consent model for the region. See How to Choose Between Opt-In and Opt-Out Consent Models.
You can also upload an image and turn on Display image to show it in the banner.
Edit the first-visit banner
Section | Settings |
|---|---|
Text | Title and Description |
Buttons | Labels for the Accept, Reject, and Cookie settings buttons; Main button color; Alternative button color; button corner radius |
Container | Background and page overlay, border, and corner radius |
Footer | Transparency page link text, “Compliance by” text, footer background, and whether Captain Compliance branding is shown |
Position | Vertical position (Top, Middle, or Bottom) and horizontal position (Left, Middle, or Right) |
Edit the cookie settings panel
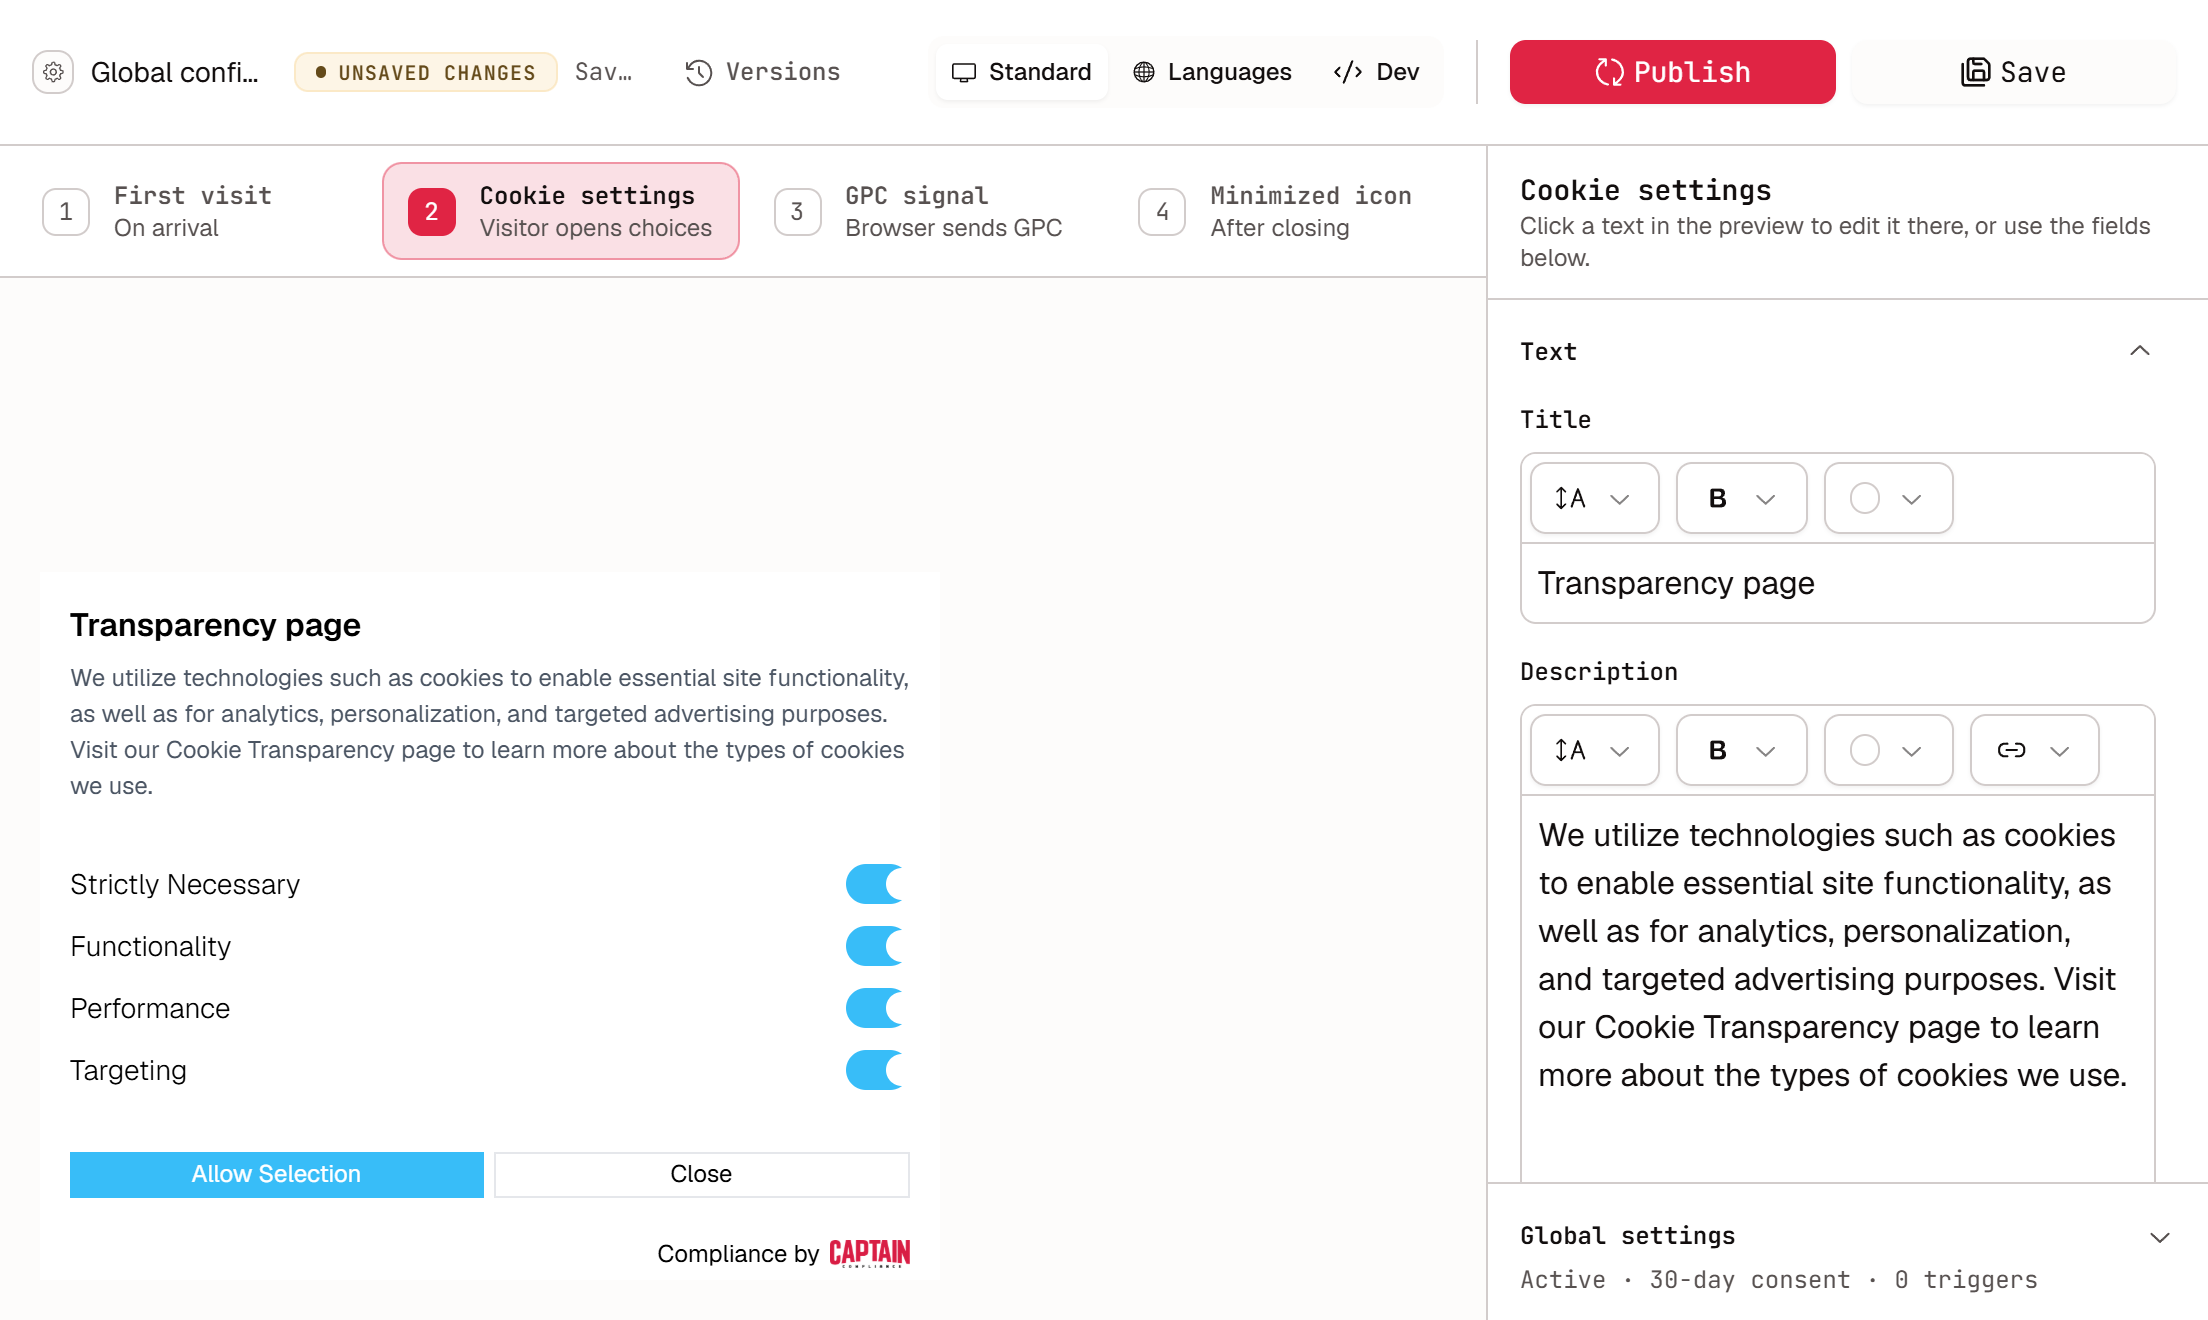
Section | Settings |
|---|---|
Text | Title and Description |
Buttons | Labels for the Allow selection and Close buttons |
Categories | The toggles visitors can switch, and the default state of each one |
Behavior | Switch text color, and Settings Close Behavior: Close settings only, or Close settings and banner |
The category defaults decide whether a configuration behaves as opt-in or opt-out. See How to Create Regional Consent Banner Configurations and How to Use Bucket Mode to Customize Consent Categories and GPC Behavior.
Edit the GPC notice
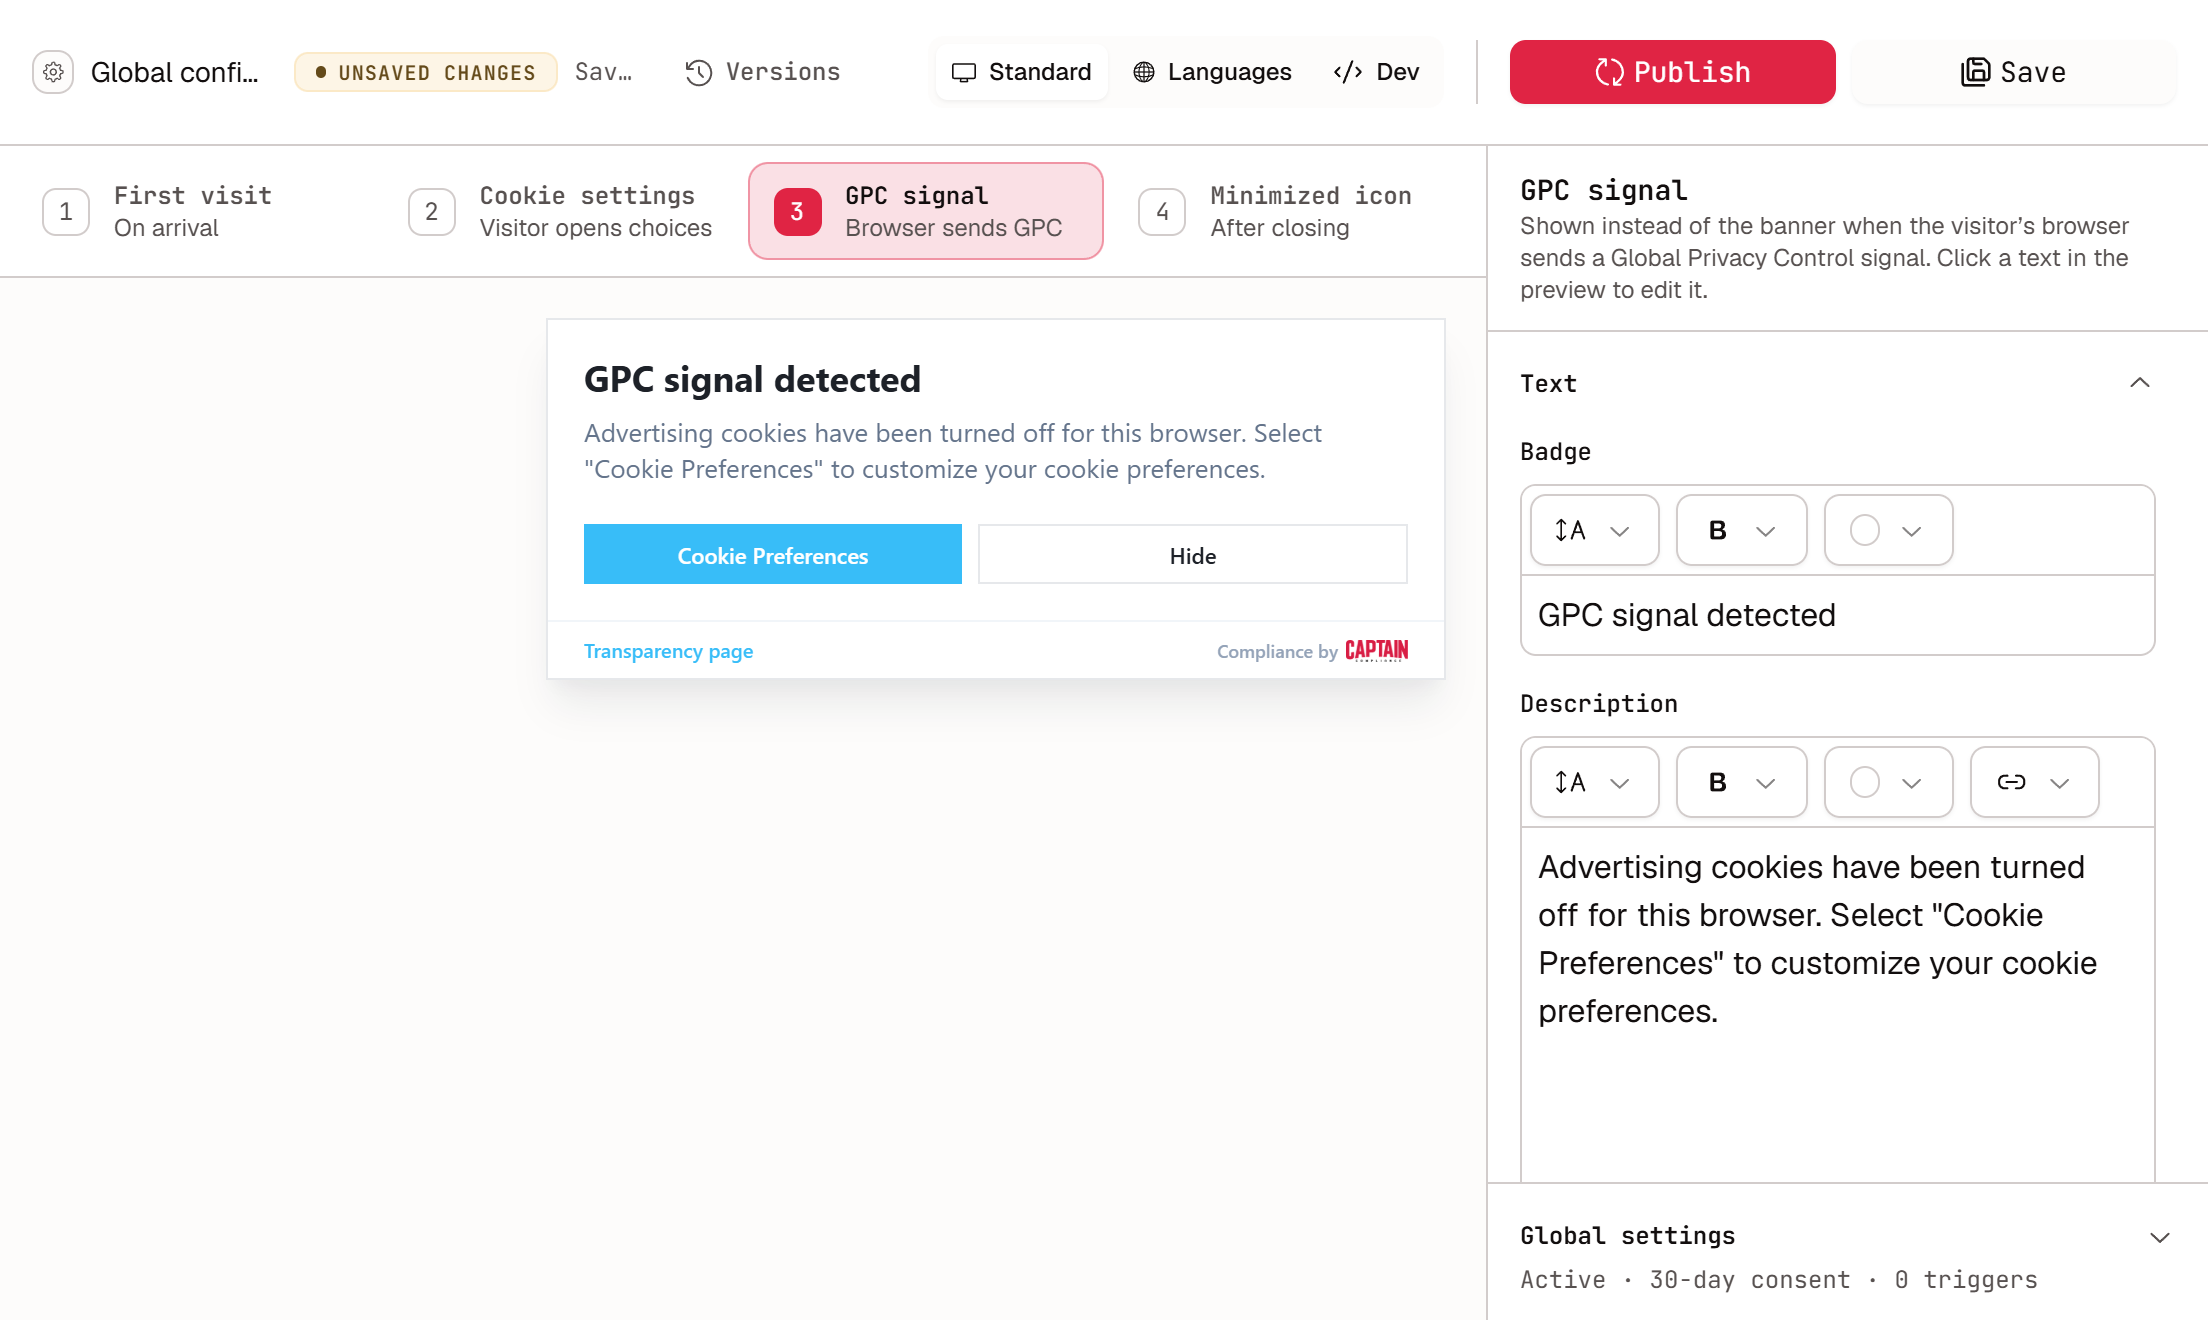
The GPC signal scene controls the notice shown when a visitor’s browser sends a GPC signal. You can edit the Badge, the Description, the labels of the Preferences and Hide buttons, and the position.
The default description says that advertising cookies have been turned off. Edit it so that it describes what your configuration turns off when GPC is detected.
Show or hide the minimized icon
The minimized icon stays on the page after a visitor closes the banner, so that they can reopen their cookie settings. In the Minimized icon scene, set Display Minimized Icon to Yes or No. If you turn it off, give visitors another way back to their choices: see How to Add a “Cookie Preferences” Option to Your Website Footer.
Set behavior for the configuration
Global settings, at the bottom of the editing panel, apply to the whole configuration.
Setting | What it does |
|---|---|
Expiration Time (days) | How long a visitor’s consent choice lasts before the banner asks again. The default is 30 days. |
Triggers | Optional rules that hide the banner automatically: after 5 seconds, after the visitor scrolls 50% of the page, when they press Escape, or when they click outside the banner. |
Status | Whether the configuration is active. |
Design source | Custom Code Mode. When it is on, visitors see the HTML and CSS saved in Dev mode, and the design controls in Standard mode are paused. Mode and position still apply. |
Hide Banner | Set to Yes to keep the banner hidden by default. |
Override Global Settings | Set to Yes when this configuration should use its own values instead of the domain’s Global Playground settings. The app notes that overriding can change some style behaviors, so check the preview afterwards. |
A trigger hides the banner without the visitor making a choice. Before you rely on one, test which consent state applies afterwards.
Translate the banner
Switch to Languages mode.
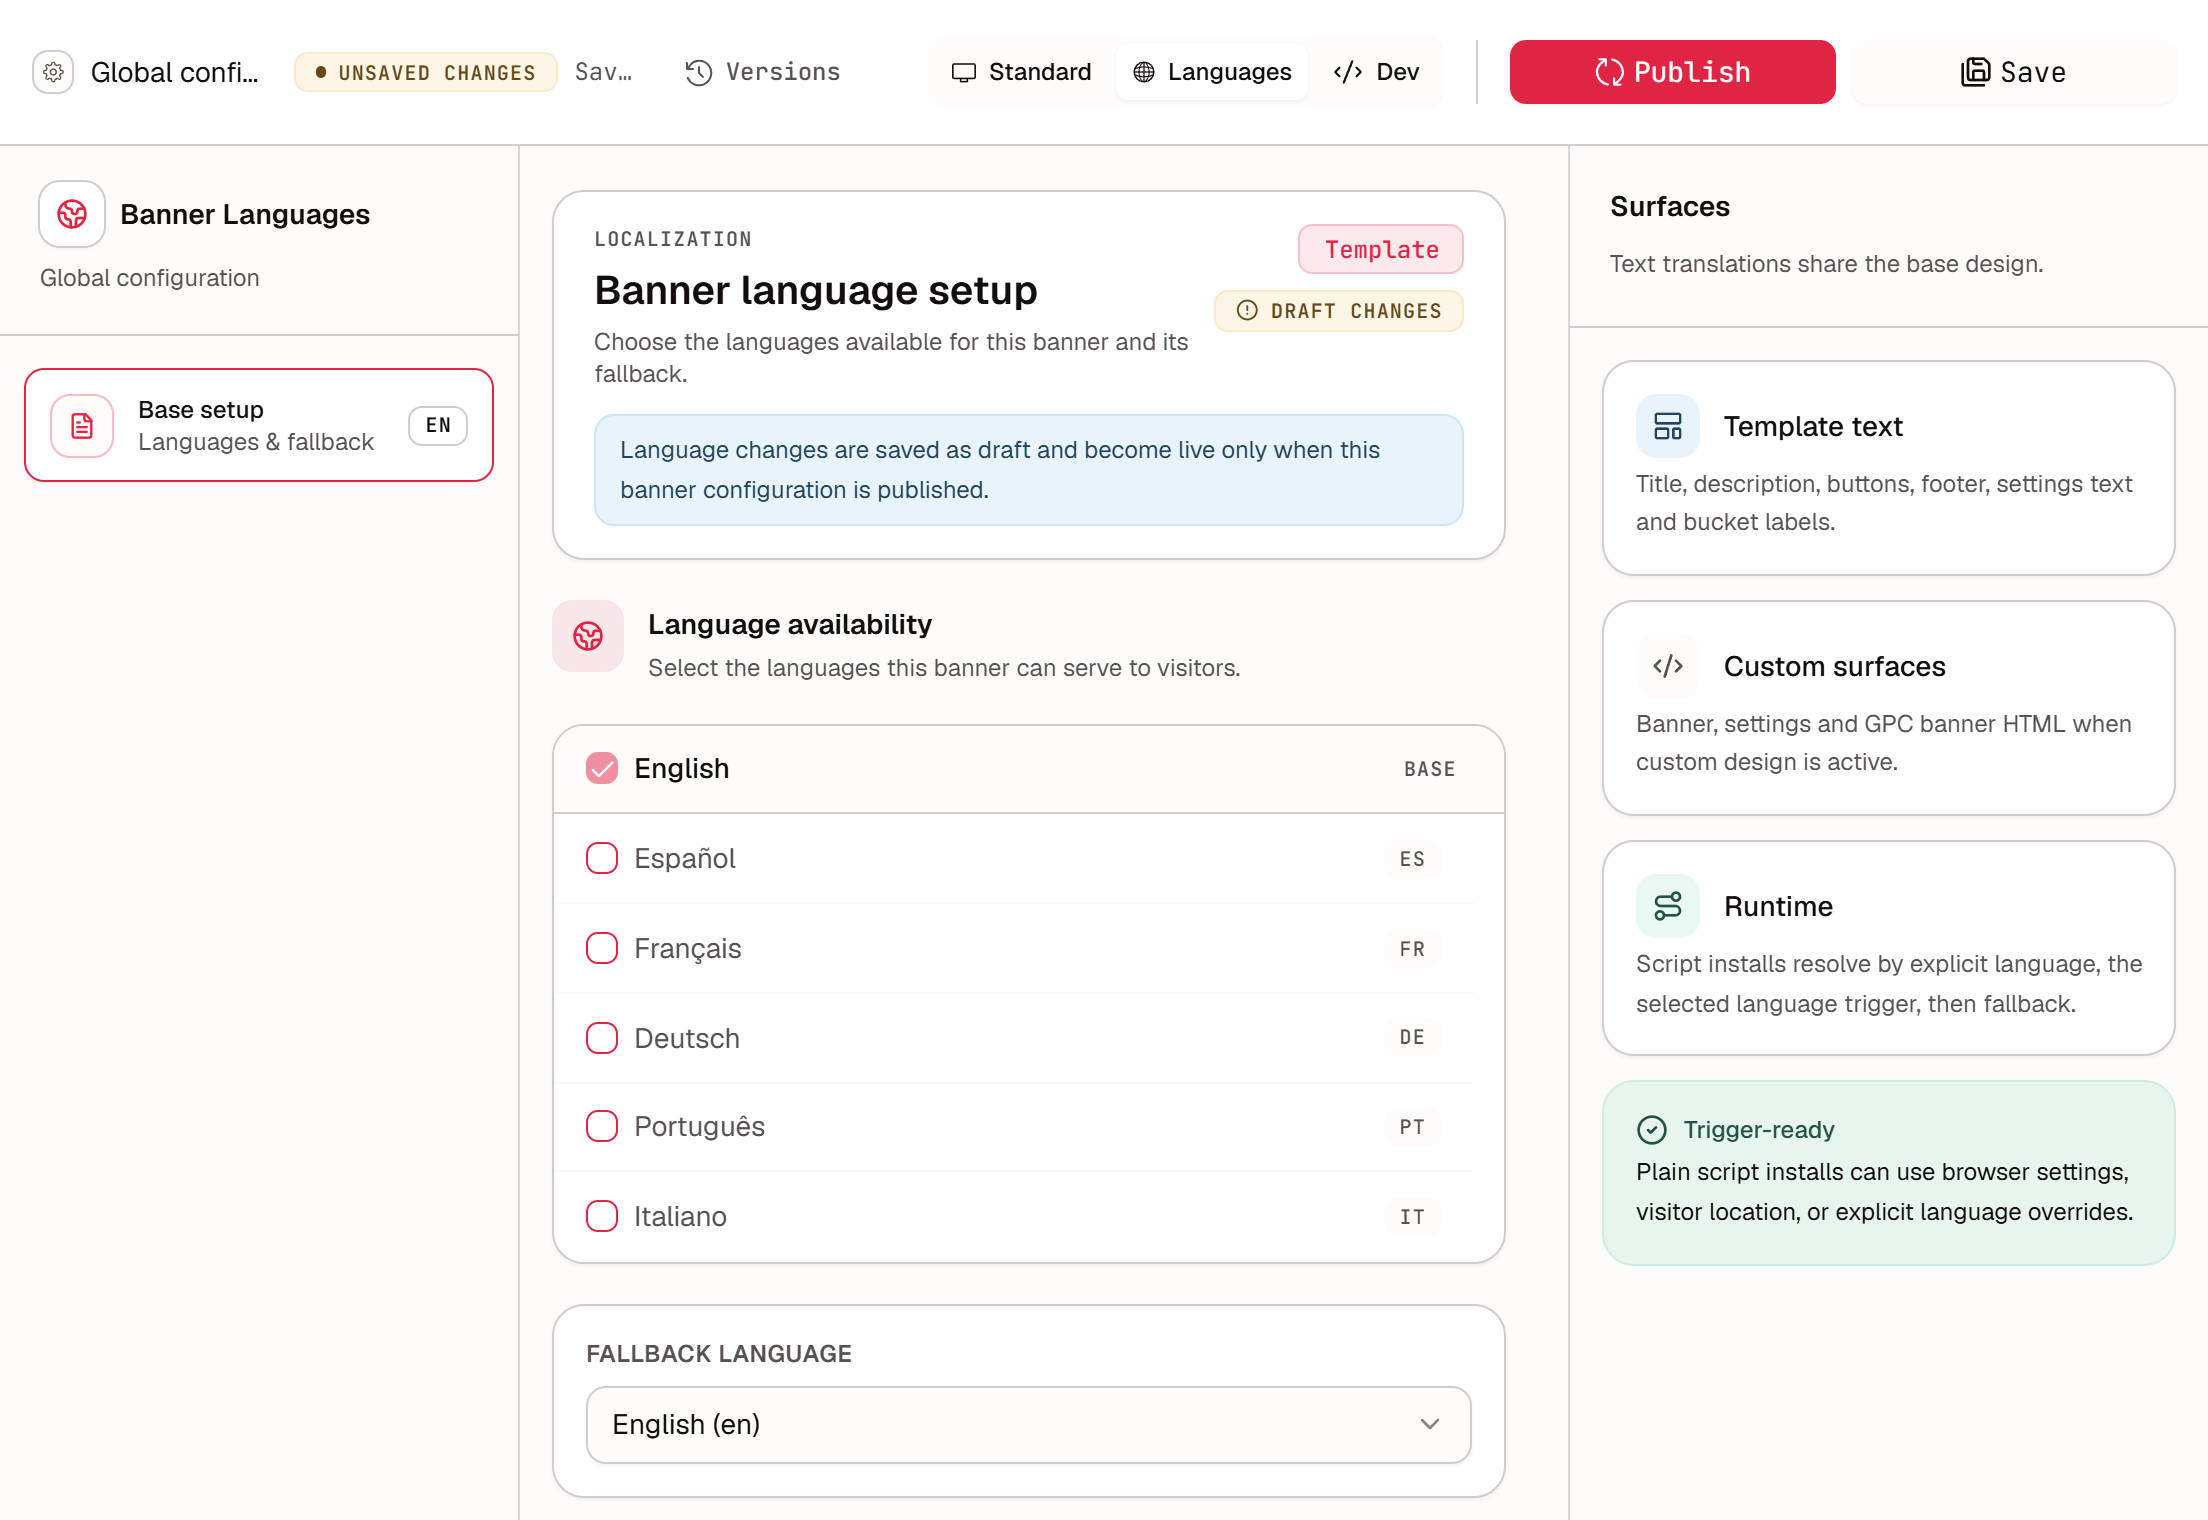
Under Language availability, select each language the banner should offer. English is the base language. Spanish, French, German, Portuguese, Italian, Dutch, Polish, Japanese, Chinese, Korean, and Arabic are available.
Choose the Fallback language, which is served when no enabled language matches the visitor.
Choose a Language trigger from the table below.
Select Save Languages. A Translation entry appears for each language you added.
Open each Translation entry, enter the localized text, and select Save Translations.
Language trigger | Behavior |
|---|---|
Browser settings first (recommended) | Uses the visitor’s browser language. If no enabled language matches, the fallback language is served. |
Visitor location first (legacy) | Uses country language rules. If no enabled language matches, the fallback language is served. |
Explicit/manual only | Uses only a language set explicitly on the installation script. Otherwise the fallback language is served. |
Language changes are saved as a draft and go live when you publish the configuration. To force one language on a page, add the language-code attribute to the installation script: see How to Publish a Consent Banner on Your Website.
Use custom HTML and CSS
Dev mode is for developers who need full control of the markup. It provides an HTML file and a style sheet for each surface: the first-visit banner, the cookie settings panel, the GPC notice, and the minimized icon. A preview shows the result, Compare with saved shows what changed, and the Problems panel lists advisory warnings, which never block saving.
Custom code reaches visitors only when Custom Code Mode is on under Global settings. While it is on, text and design come from Dev mode, so make your edits there. When you translate a custom-code banner, you translate the HTML for each surface.
Save, publish, and restore
Save stores your changes as a draft. Visitors do not see them yet.
Publish makes the saved configuration live. The status next to the configuration’s name shows whether it is live or a draft.
Versions lists the versions you have saved and published. Loading a version replaces what is in the editor, and visitors see nothing new until you save and publish.
Domain-wide settings in the Global Playground
Global Playground, under Setup on the domain’s Consent banner page, holds domain-level versions of several of these settings, including Display Minimized Icon, Hide Banner, the layout mode, color, overlay, position, and Expiration Time. Use Override Global Settings in a configuration to control whether that configuration uses its own values.
Test your changes
After you publish, test the banner as a visitor, from each region you target and with GPC turned on. See How to Test Consent Banner Configuration & Behavior and How to Test Your GTM Consent Setup.