
How to Install the Captain Compliance Consent Banner on Webflow
This article explains how to add the Captain Compliance consent banner to a Webflow site by pasting the script into the site’s custom code settings, or by loading it through Google Tag Manager (GTM). No app is required.
Before you start
Add the site’s domain in Captain Compliance and set up its consent banner. See How to Set Up Captain Compliance: A Step-by-Step Checklist.
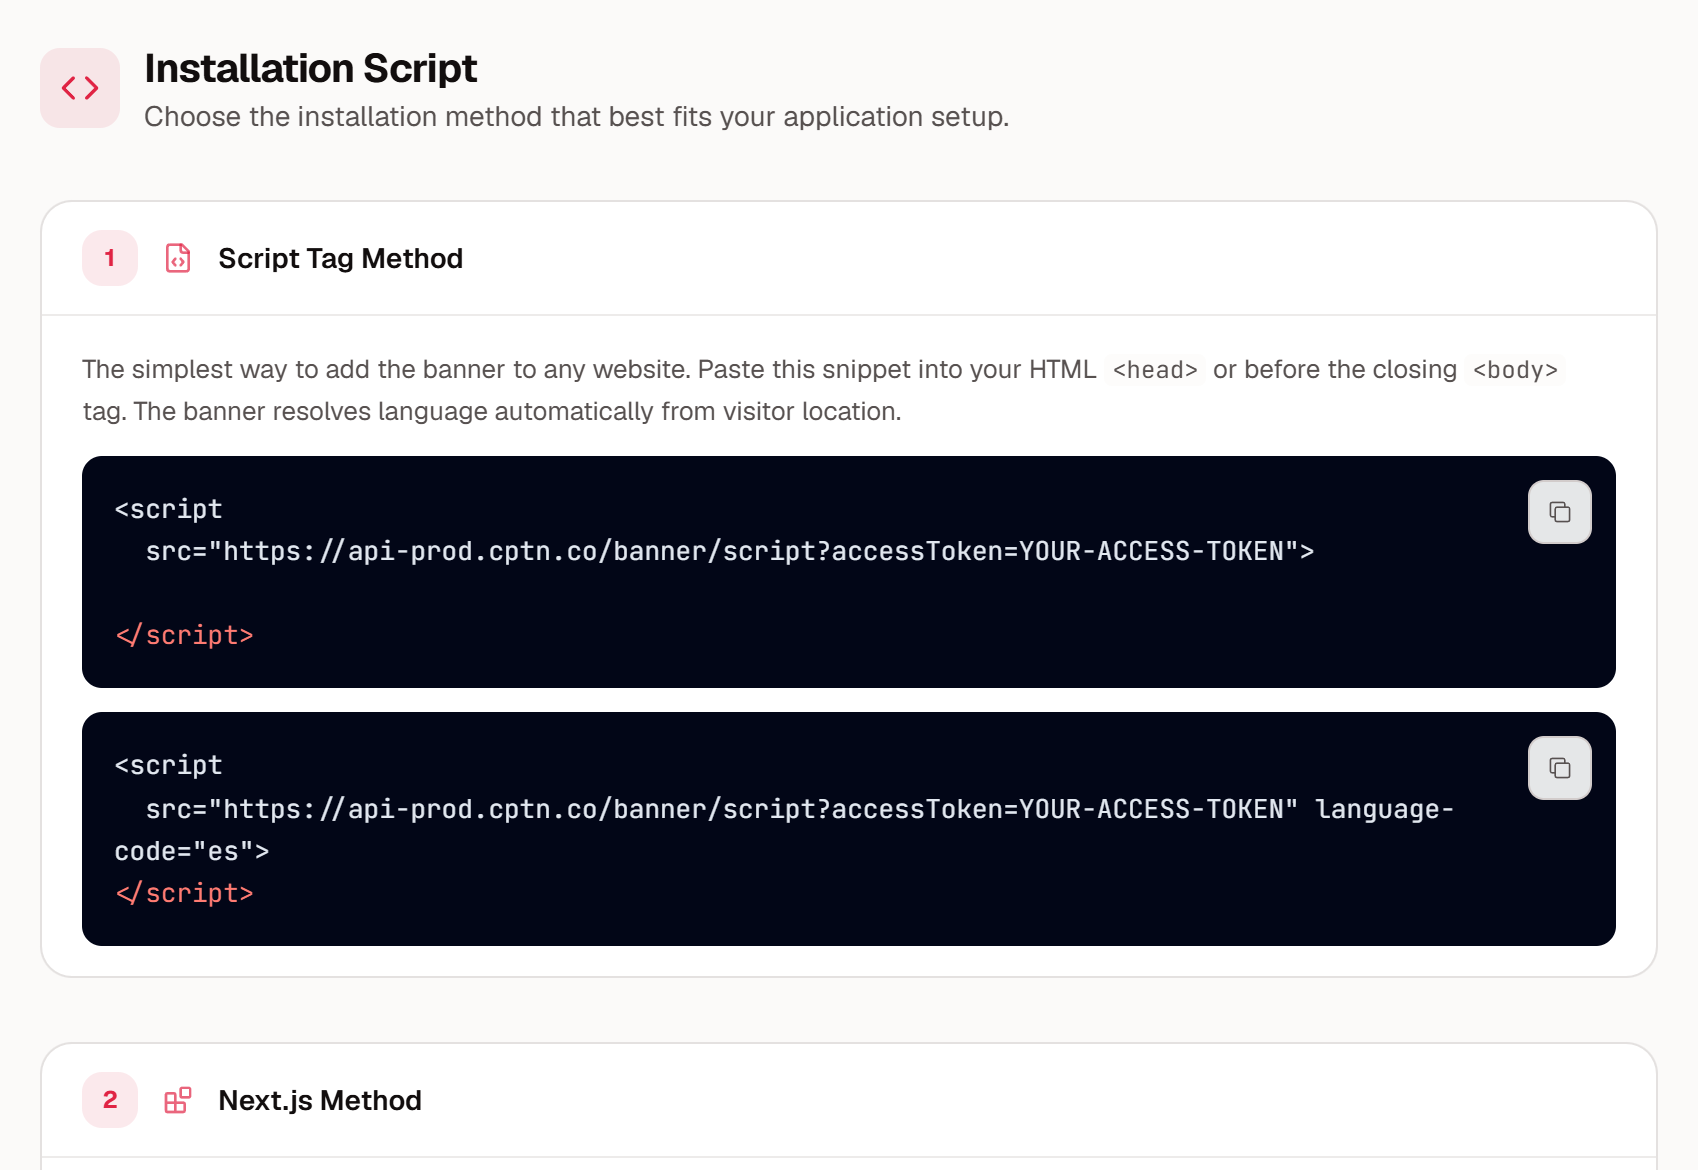
Copy the script for that domain. In the Captain Compliance app, select Consent banner in the sidebar, select the domain, and under Setup select Installation script. Copy the snippet under Script Tag Method.
Check that your Webflow plan includes custom code. Webflow offers it on paid Site plans and on paid Workspace plans.
The script runs only on the domain it was issued for, with or without www. On a subdomain, the banner appears only if that subdomain has been added in Captain Compliance. On any other address, the banner does not appear. For example, if you added your custom domain in Captain Compliance, the banner does not appear on the site’s webflow.io staging address. To add a domain or subdomain, see How to Scan Websites and Manage Domains.
The Installation script section in the Captain Compliance app:
Add the script in Site settings
Open the site’s Site settings, and select the Custom code tab.
In the Head code field, paste the script. Put it at the top of the field, above any other scripts.
Select Save changes.
Publish the site. Custom code takes effect only on the published site.
<script src="https://api-prod.cptn.co/banner/script?accessToken=YOUR-ACCESS-TOKEN"></script>Webflow notes
Paste only the script tag. Do not add
<html>,<head>, or<body>tags.Custom code does not run on the Designer canvas. Check the banner on the published site.
Each page also has its own custom code field in its page settings. Use the site-wide Head code field instead, so that the banner is on every page.
The script must come before the scripts it should hold. If you use Auto Blocking or Strict Mode, keep the Captain Compliance script first in the Head code field. See How to Block Scripts Before Consent with Auto Blocking and Strict Mode.
Install through Google Tag Manager instead
If the GTM snippet is already in the site’s Head code, you can load the banner from GTM instead of pasting the script. Add the Captain Compliance CMP template to the container, enter the access token for the domain, and set the tag to fire on Consent Initialization - All Pages. See How to Install and Configure the Captain Compliance CMP Template in GTM.
Use one method only. If you install through GTM, do not also paste the script into the site.
Confirm the banner is live
Open the published site in a private or incognito browser window.
Confirm that the banner appears, and try Allow, Reject, and Cookie Settings.
View the page source and search for
api-prod.cptn.coto confirm that the script is in the head.
If the banner does not appear, see How to Troubleshoot a Consent Banner That Does Not Appear or Respond. For a full test plan, see How to Test Consent Banner Configuration & Behavior.
For Webflow’s own instructions, see Custom code in head and body tags in the Webflow Help Center.
Related articles
How to Install and Configure the Captain Compliance CMP Template in GTM
How to Block Scripts Before Consent with Auto Blocking and Strict Mode
How to Add a “Cookie Preferences” Option to Your Website Footer
How to Configure a Content Security Policy (CSP) for Captain Compliance
How to Troubleshoot a Consent Banner That Does Not Appear or Respond